For Christmas, I decided to give a group of friends these fabric flower brooches. When I was trying to figure out how to give these little goodies I was stumped. How do you wrap this up?
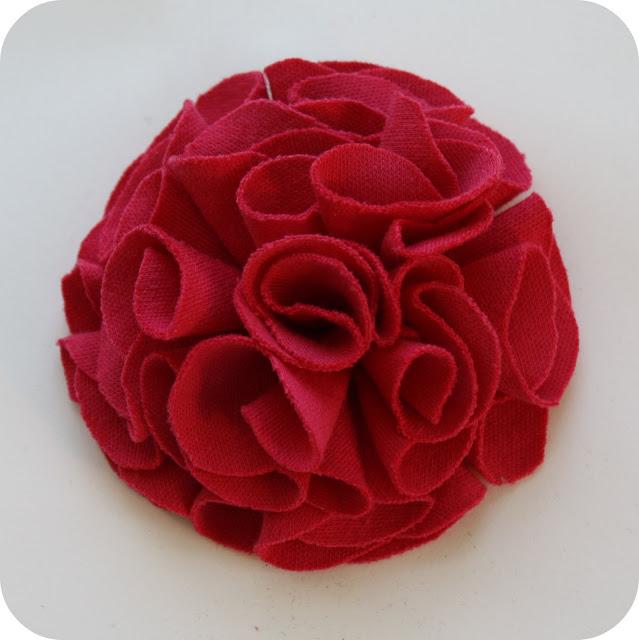
For the life of me could not figure it out… humph! But just as nap time was coming to an end and the situation was getting drastic… an idea hit!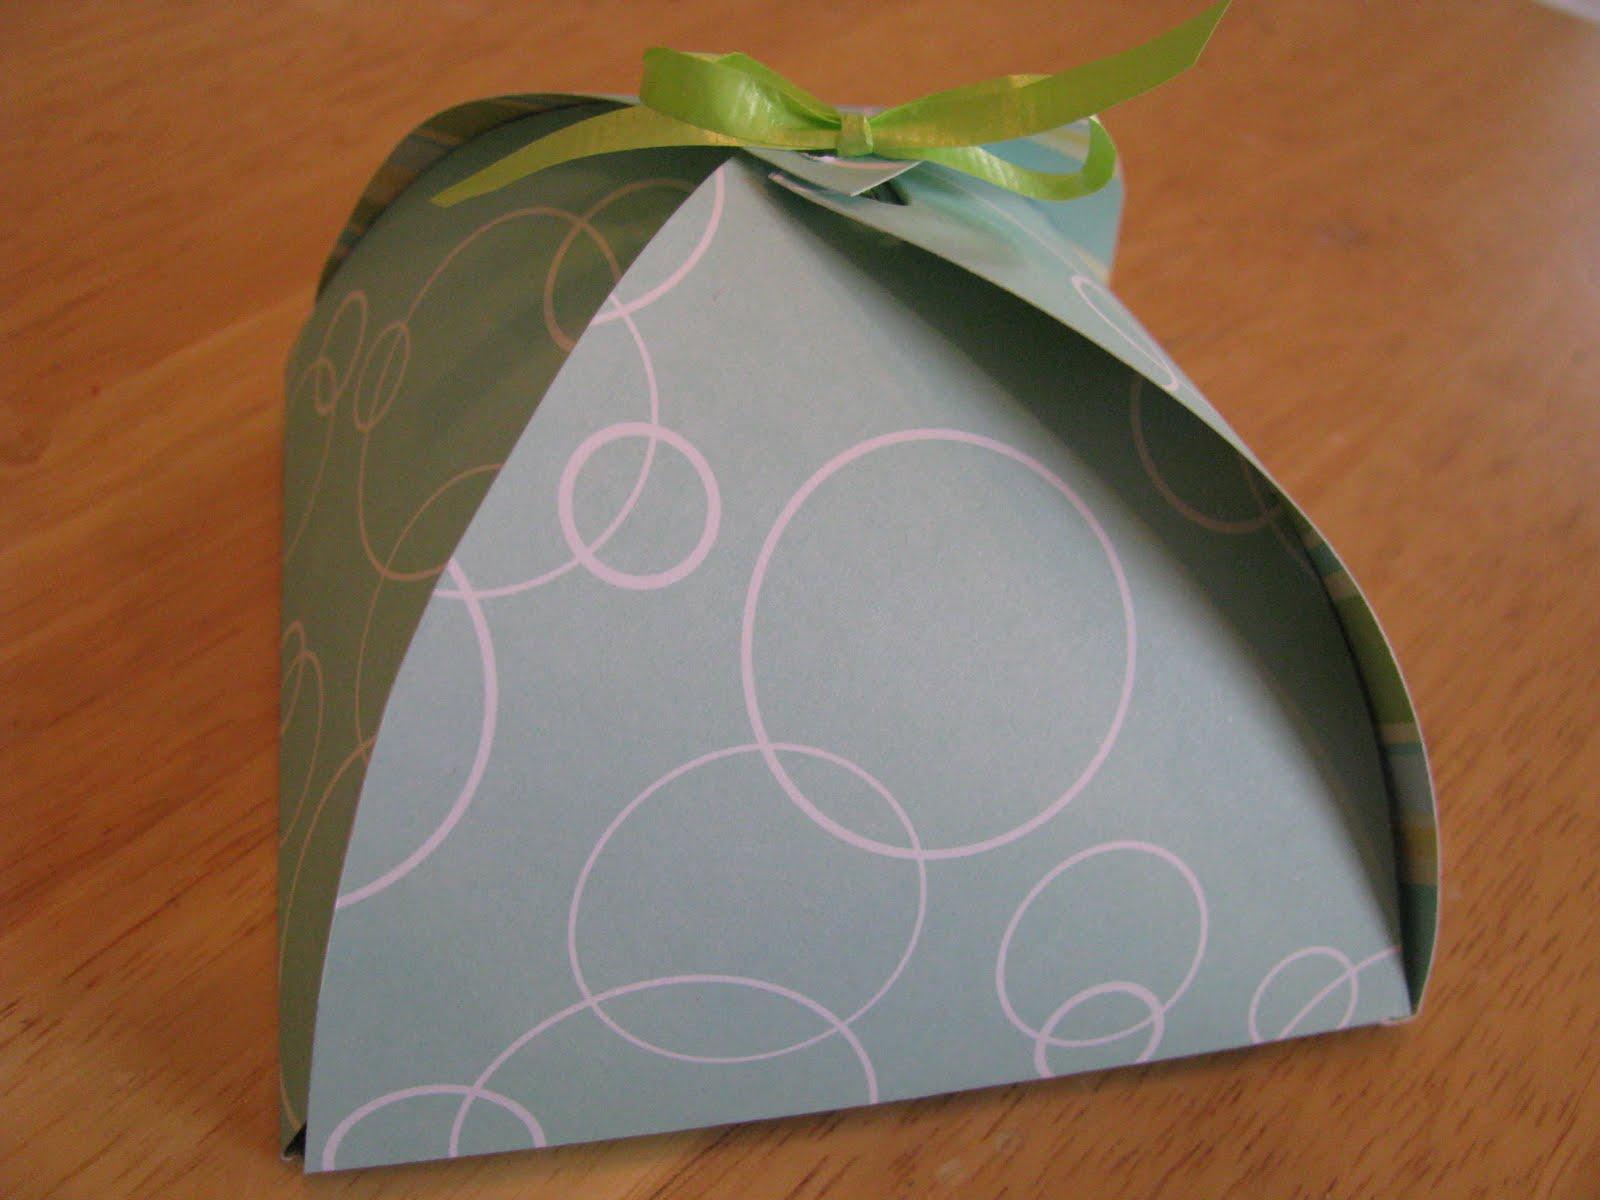
Let me suggest that you make these with someone around because these are definitely squeal-worthy and you’ll want to show them off! Here’s the tutorial:
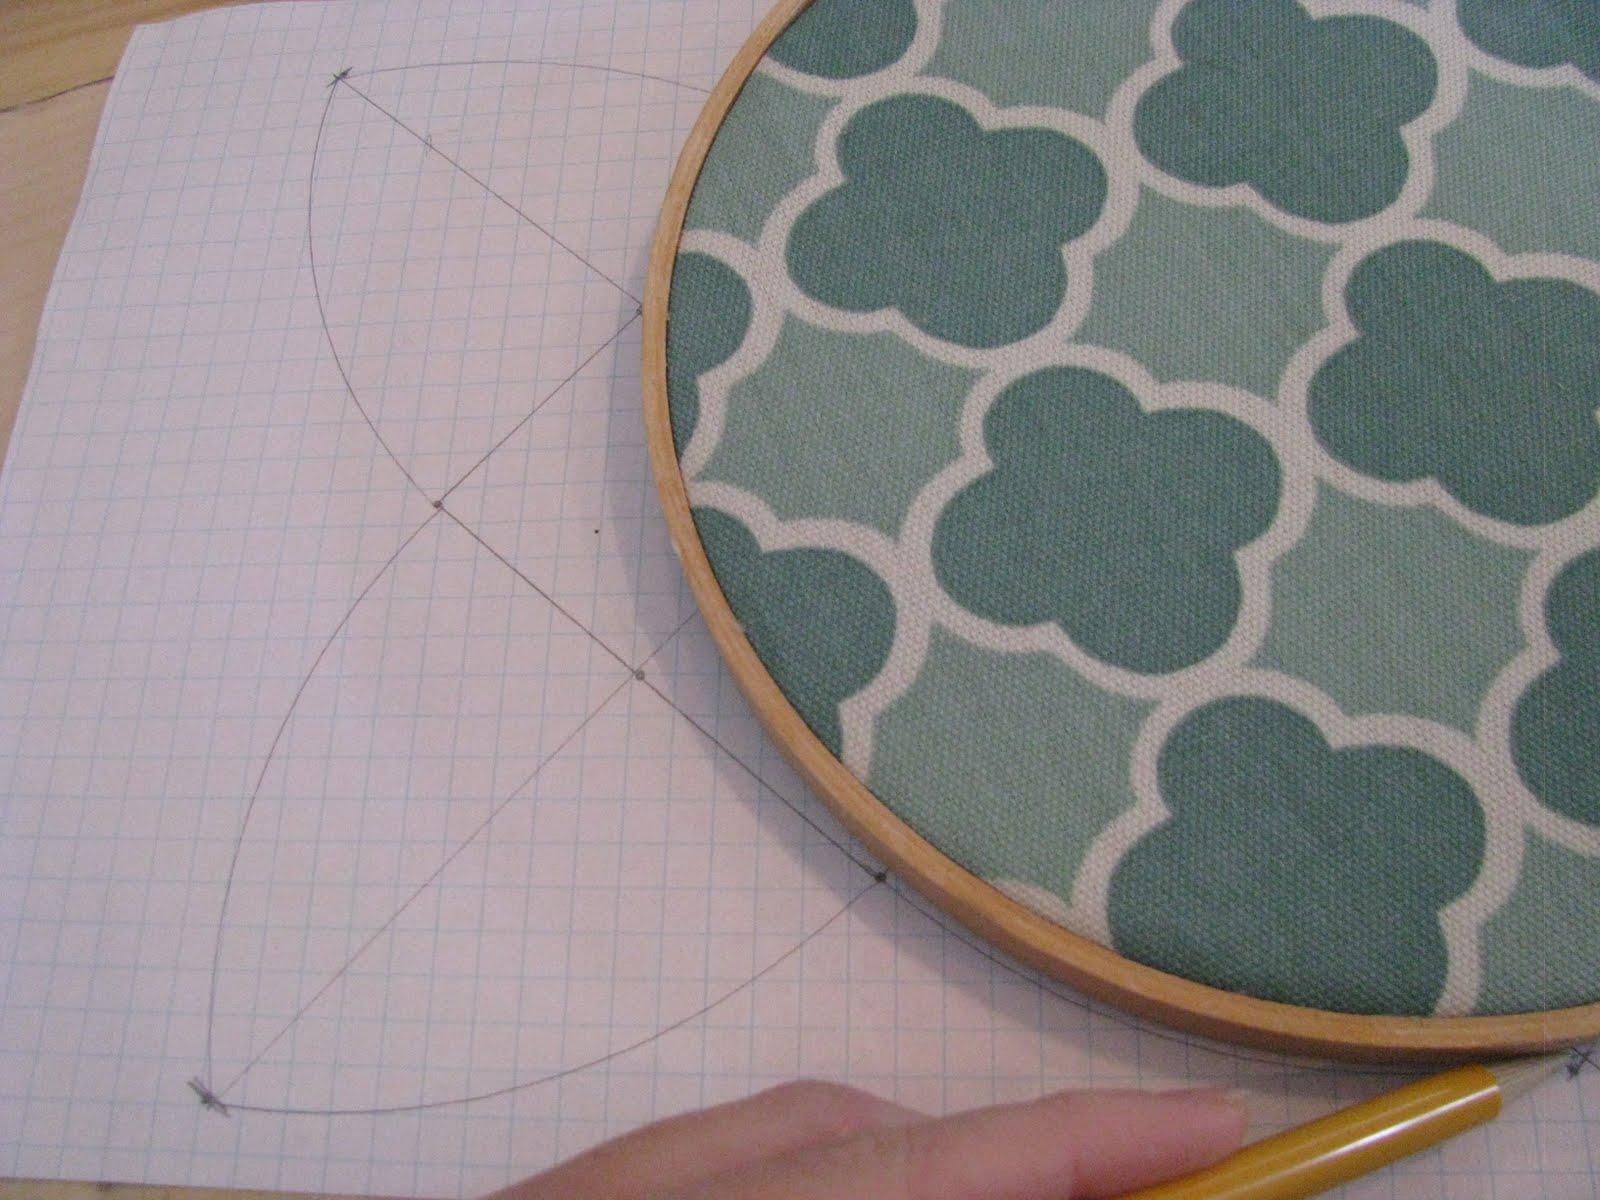
Draw a square the size of the odd shaped gift (mine was a 3 inch square). Locate the middle of the square and draw a big X. The distance from the farthest point of the X to the center of one of the sides of the square should be 1/2 inch larger than the side of the square. The picture below might help:
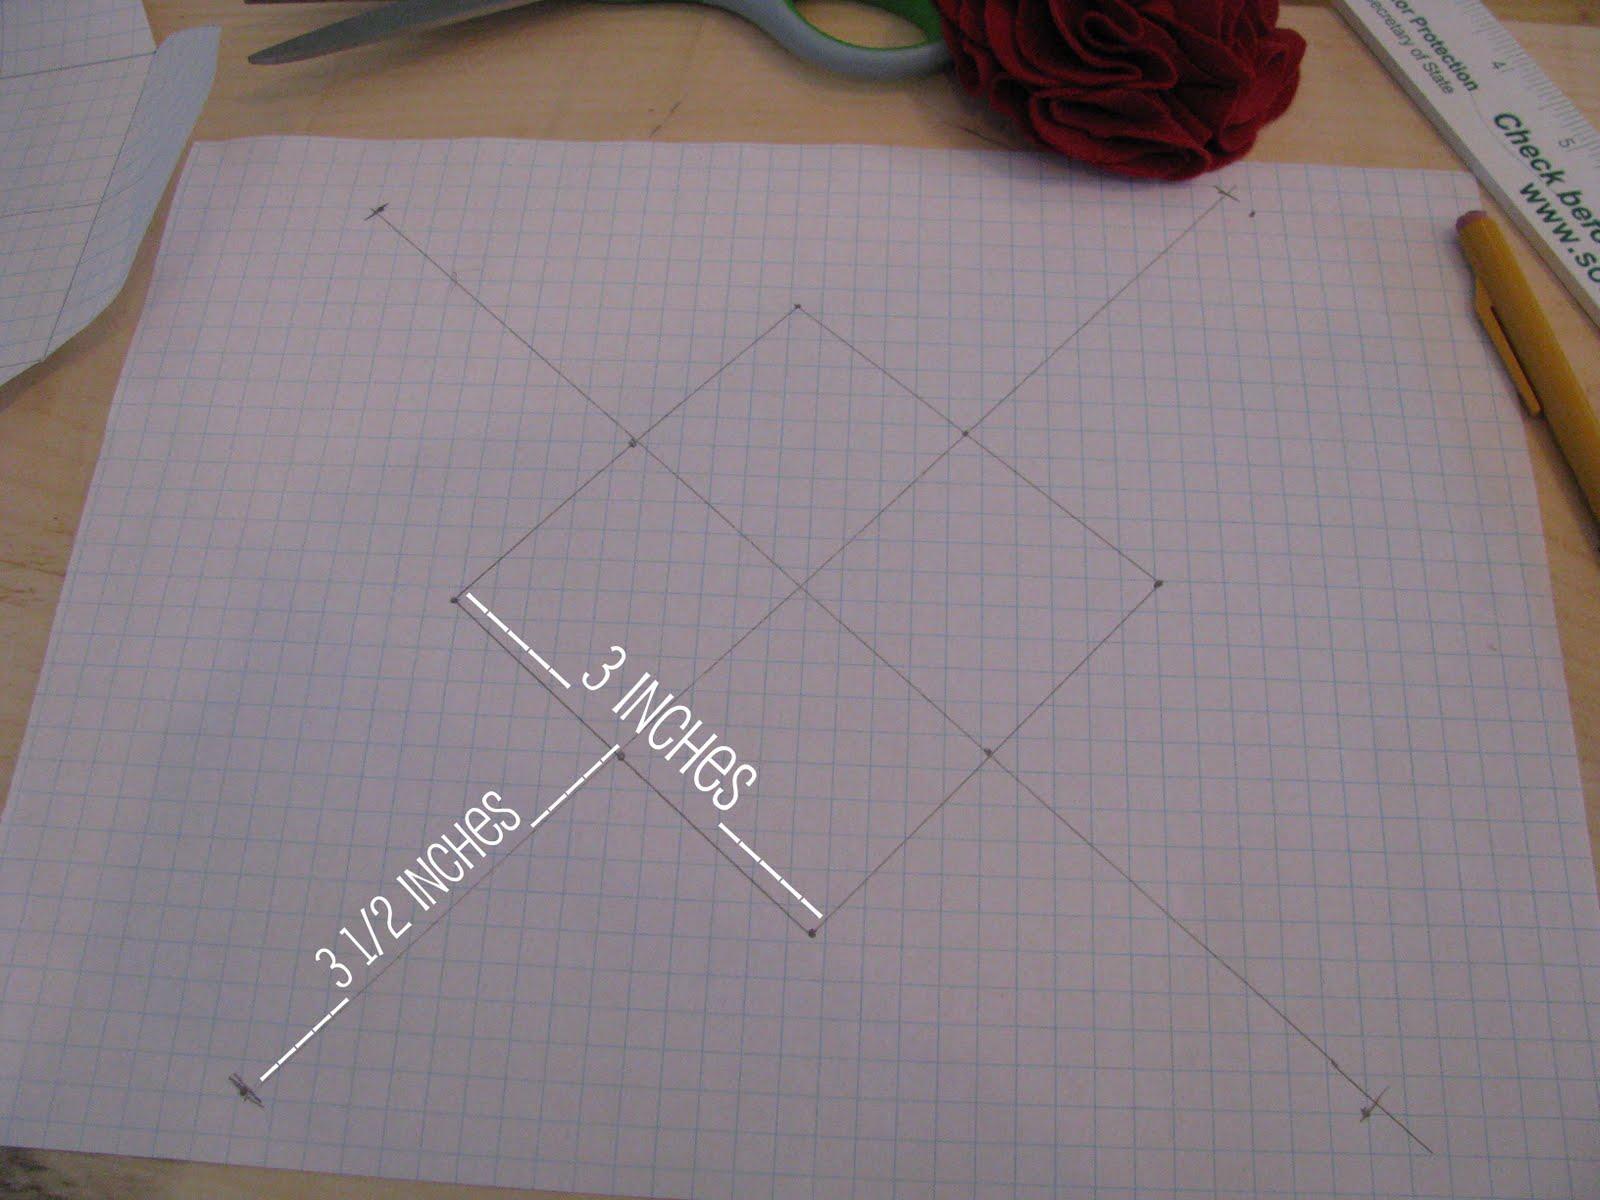
Grab something with a good arch (I used an embroidery hoop) and draw in the arches.
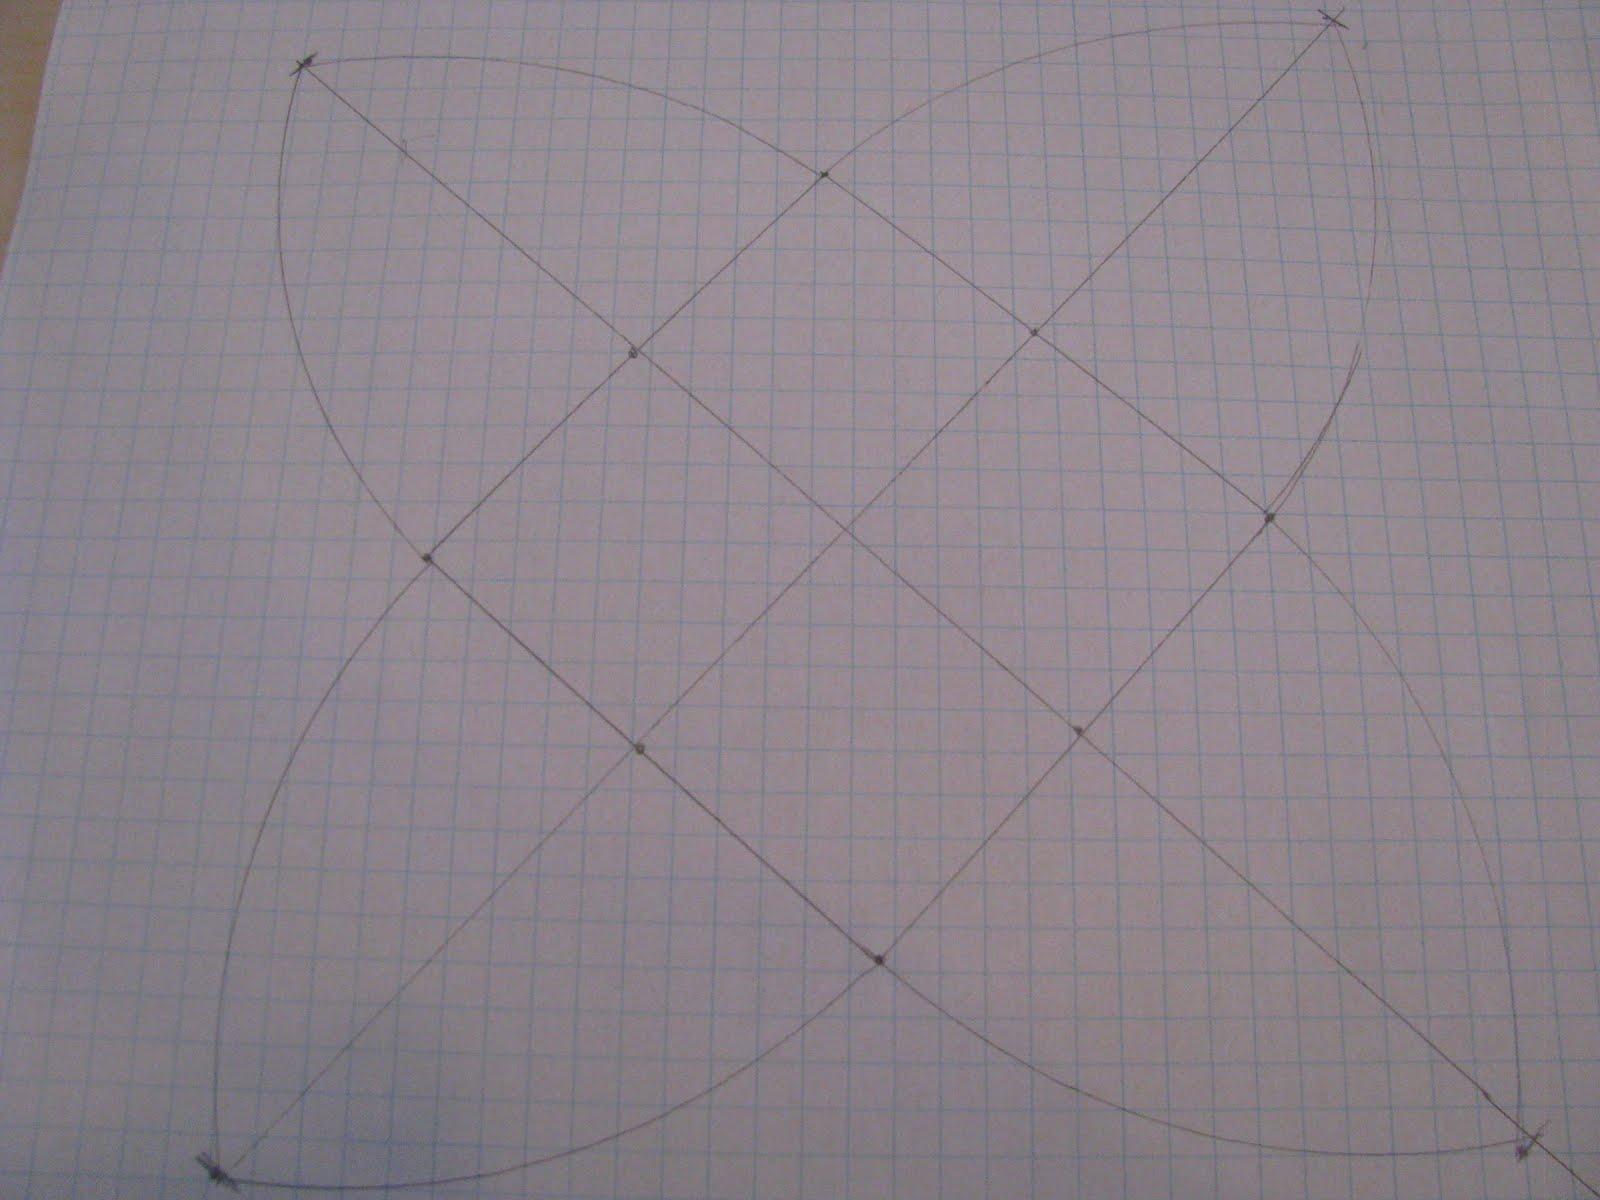
Here’s what the design looks like before you cut it out:
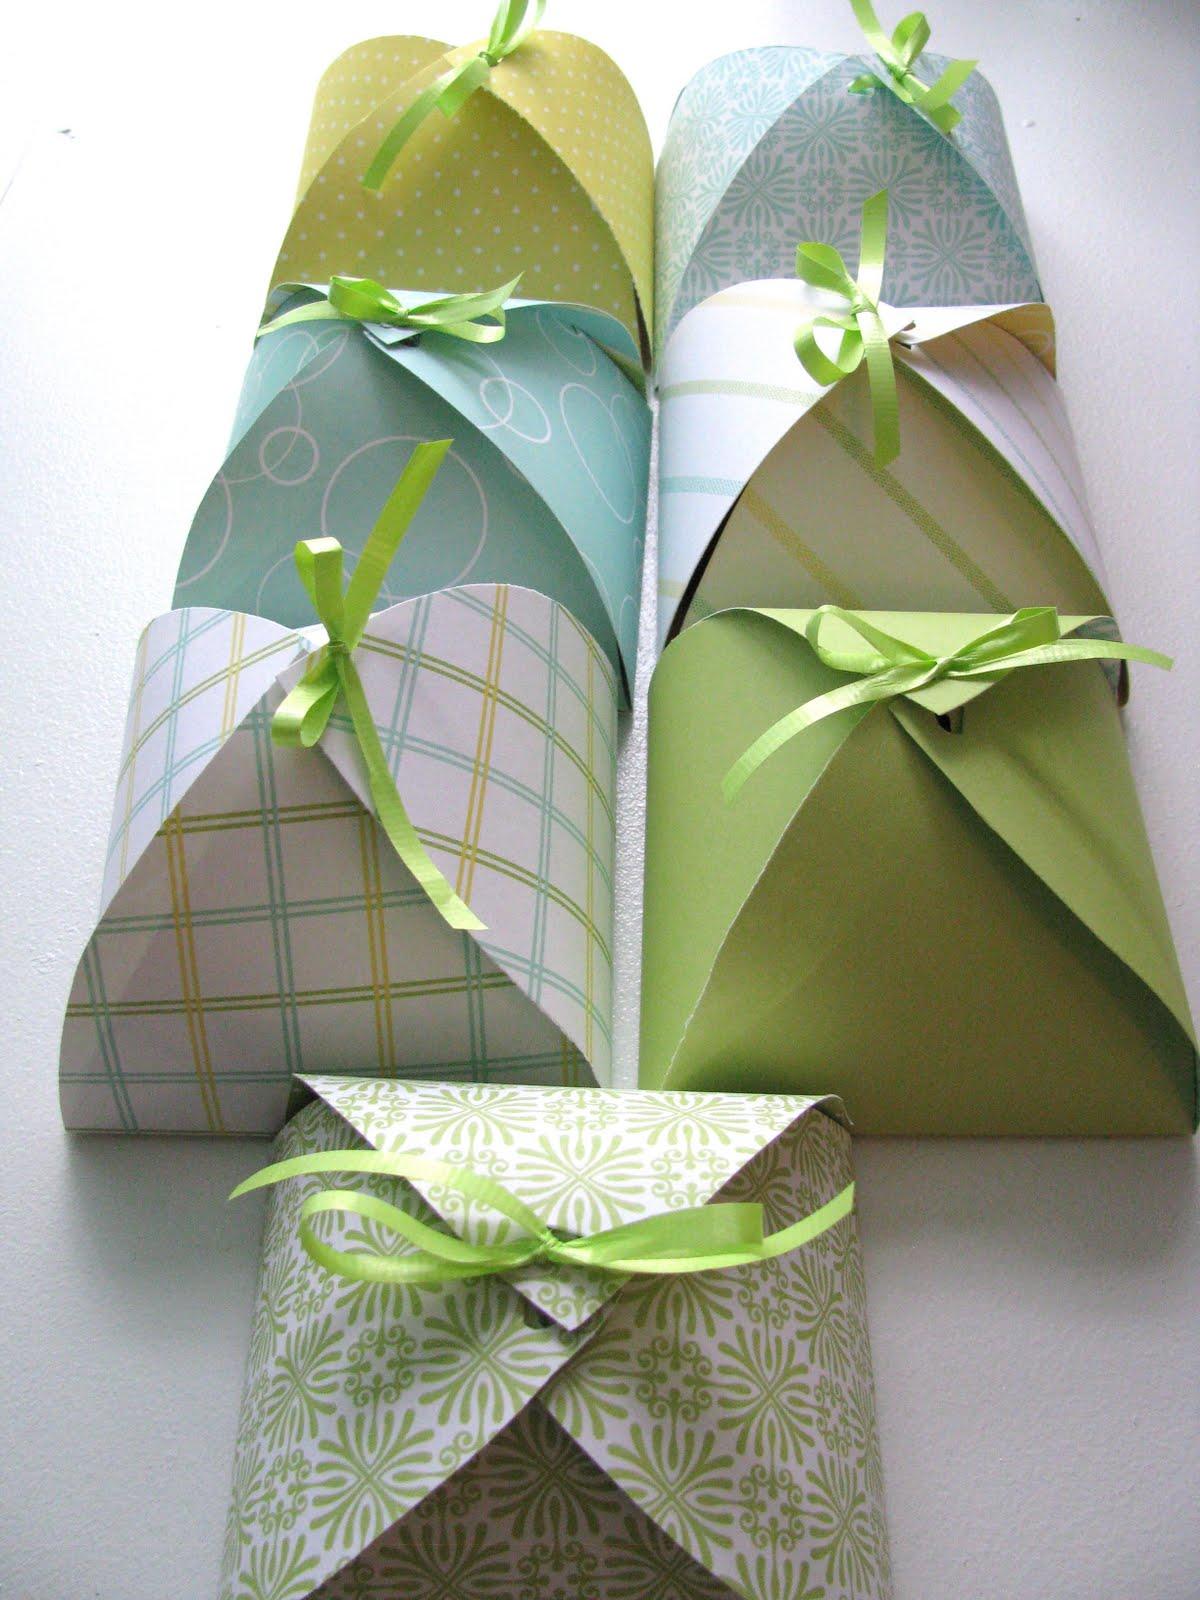
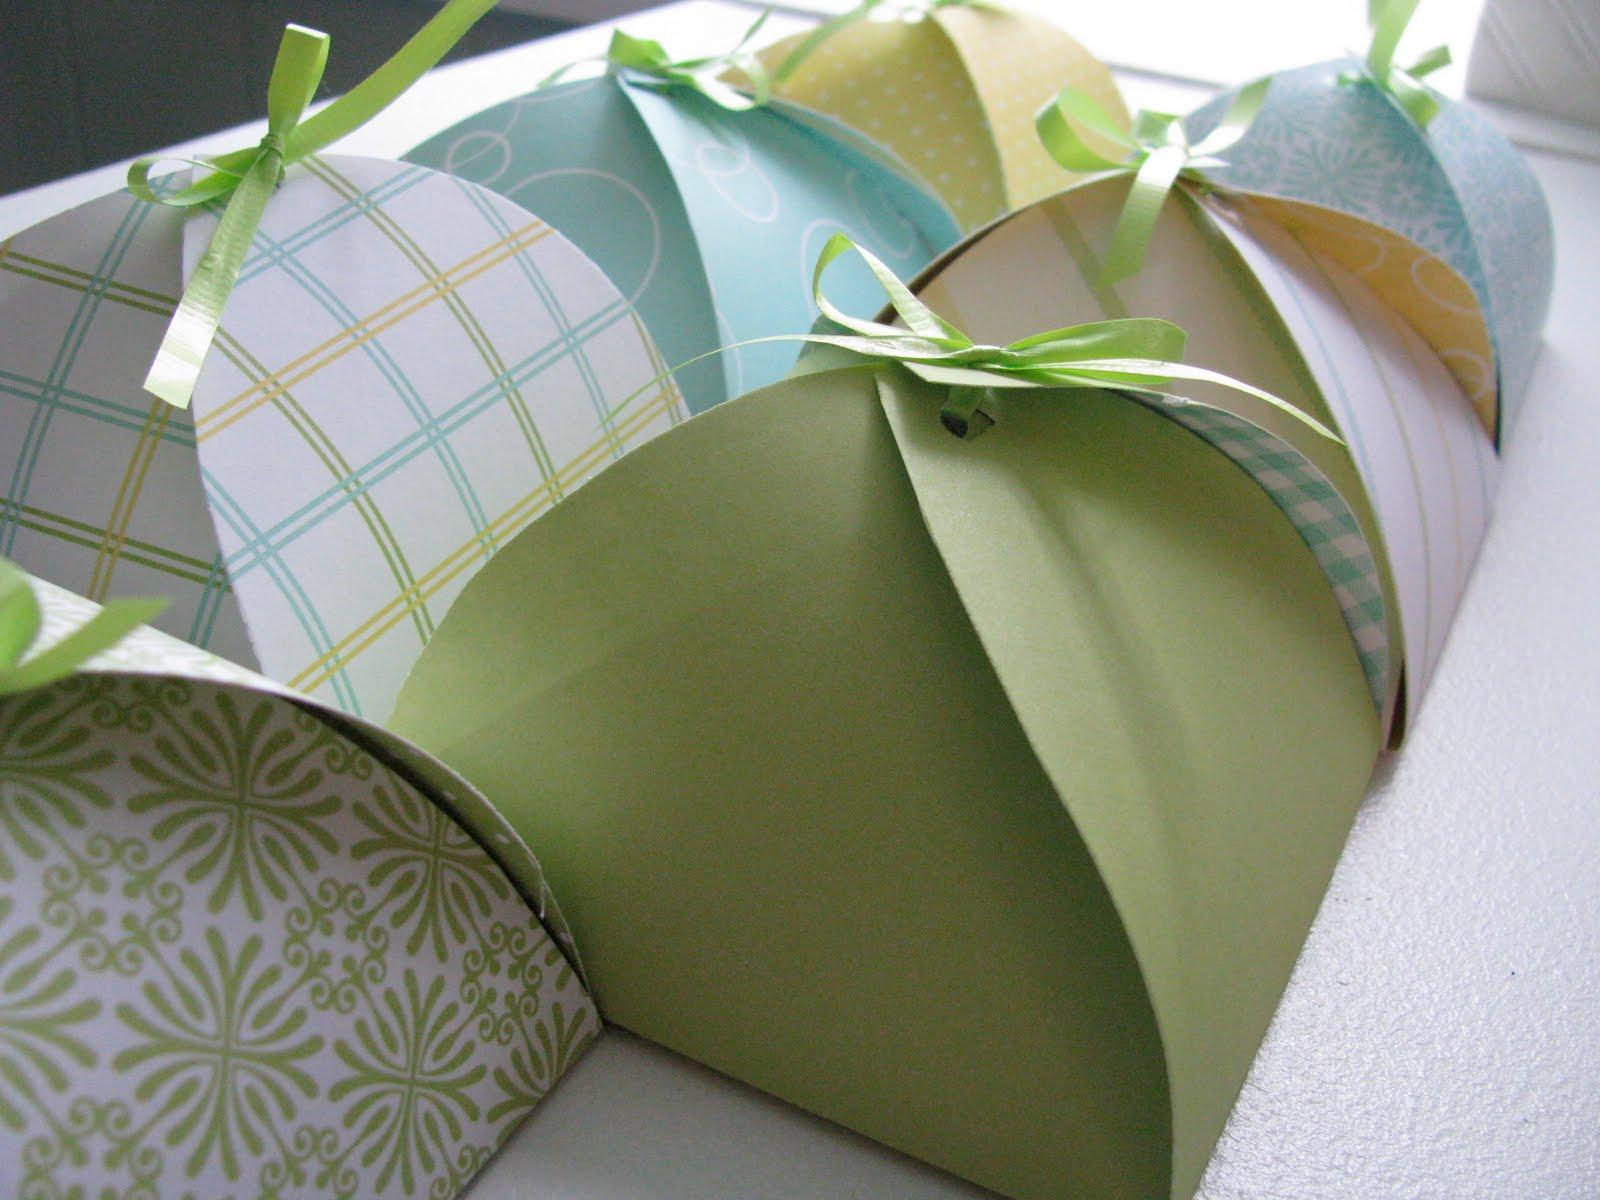
Oh I can’t wait to wrap up these beauties!
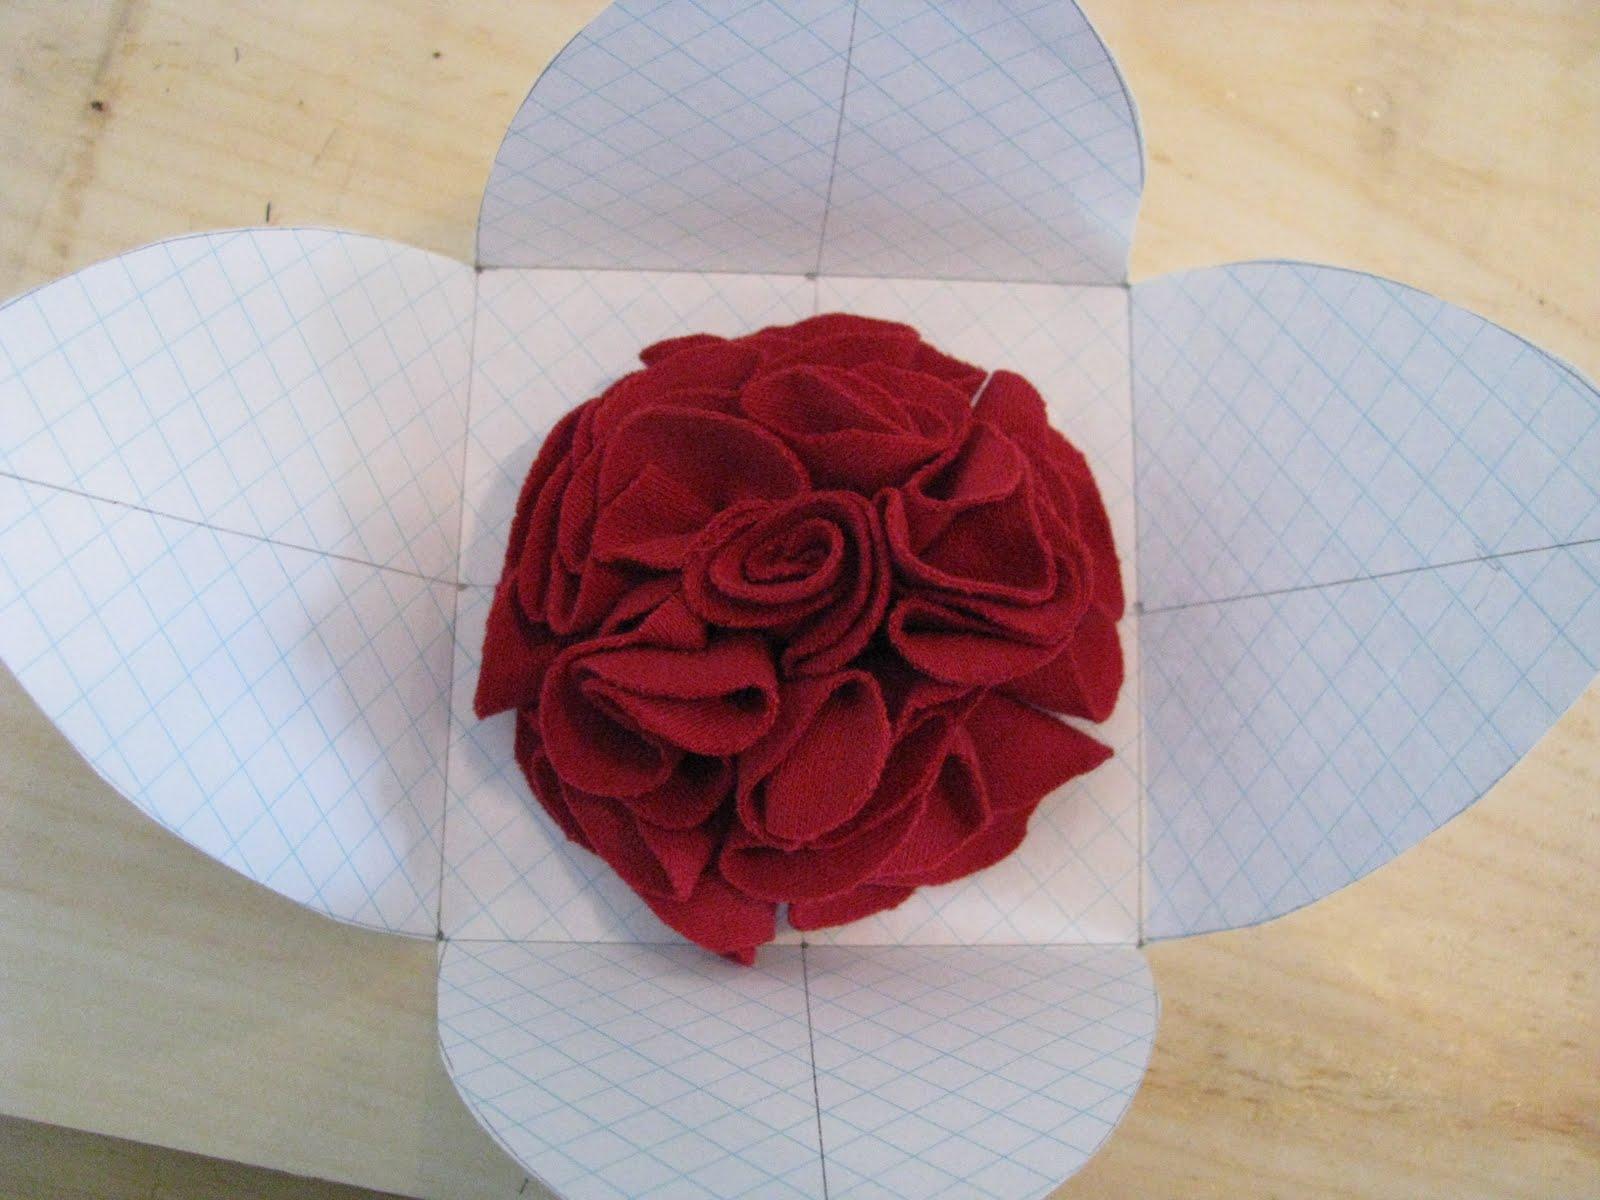
Trace the template on to double sided card stock then hole punch the tops of the four “petals”.
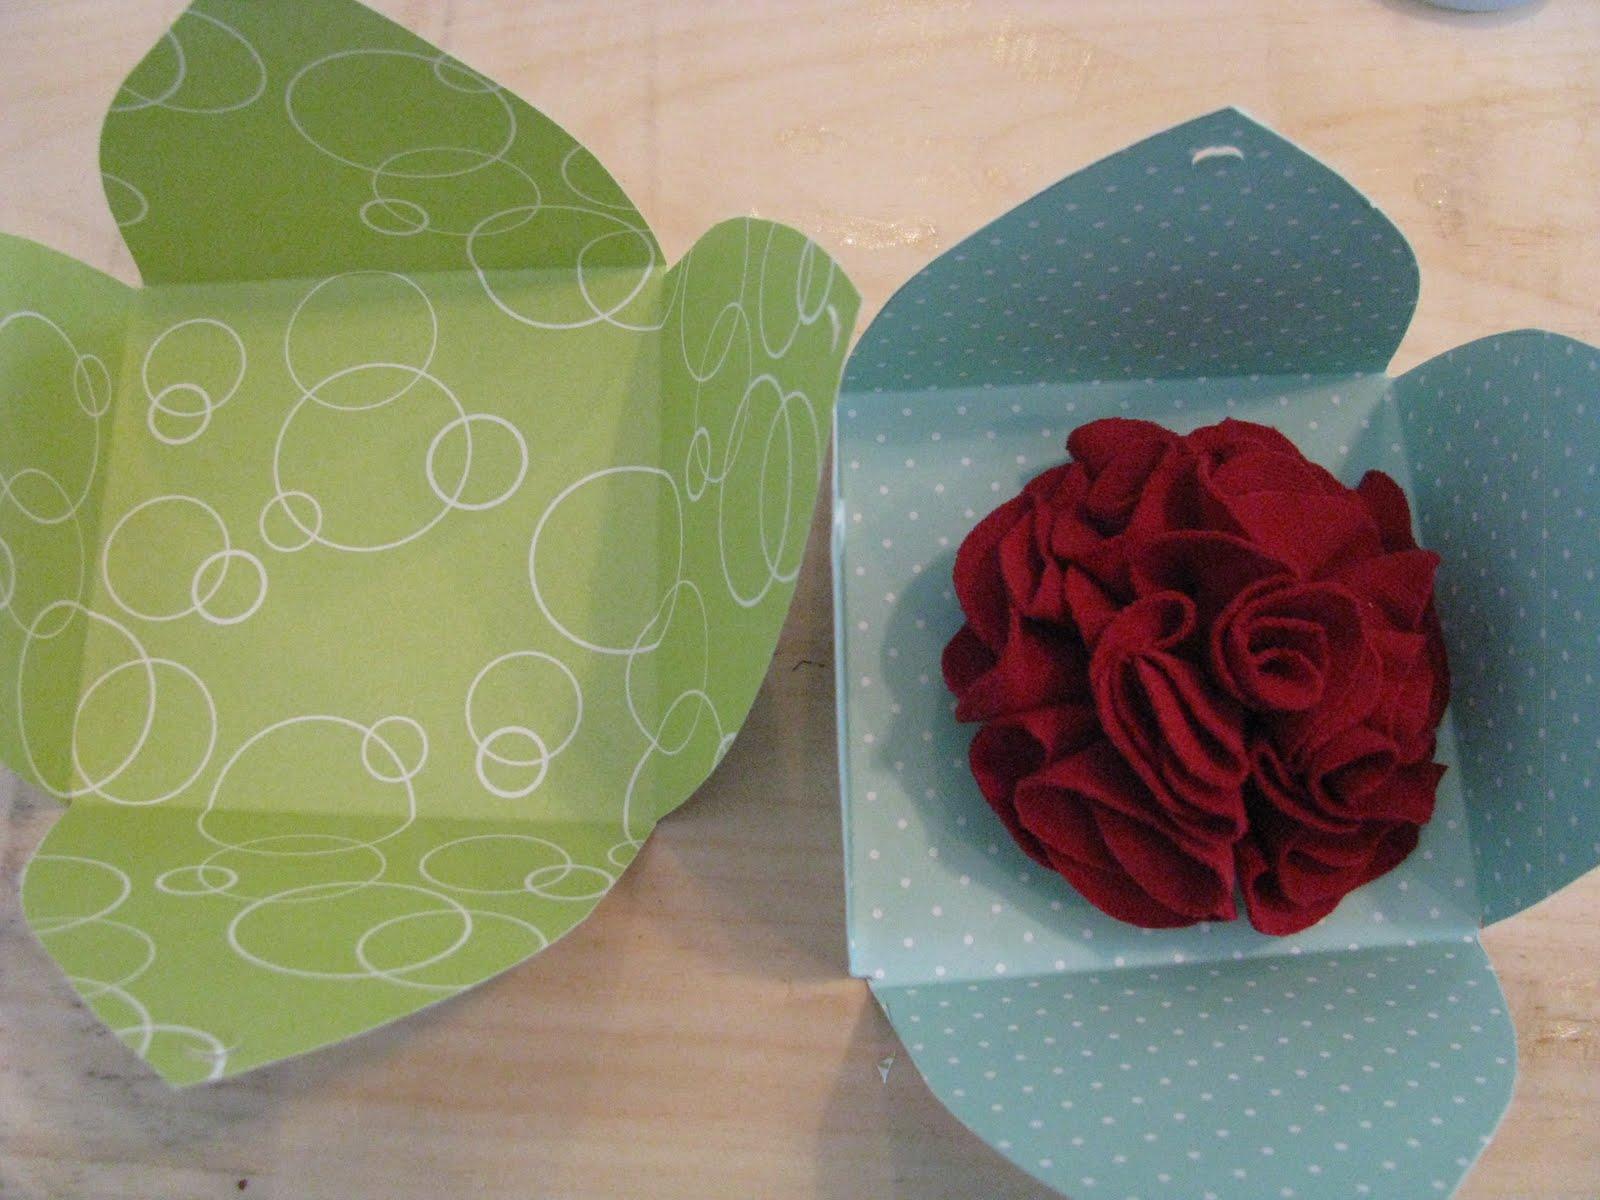
Line up the holes in three of the petals and thread a piece of ribbon through.
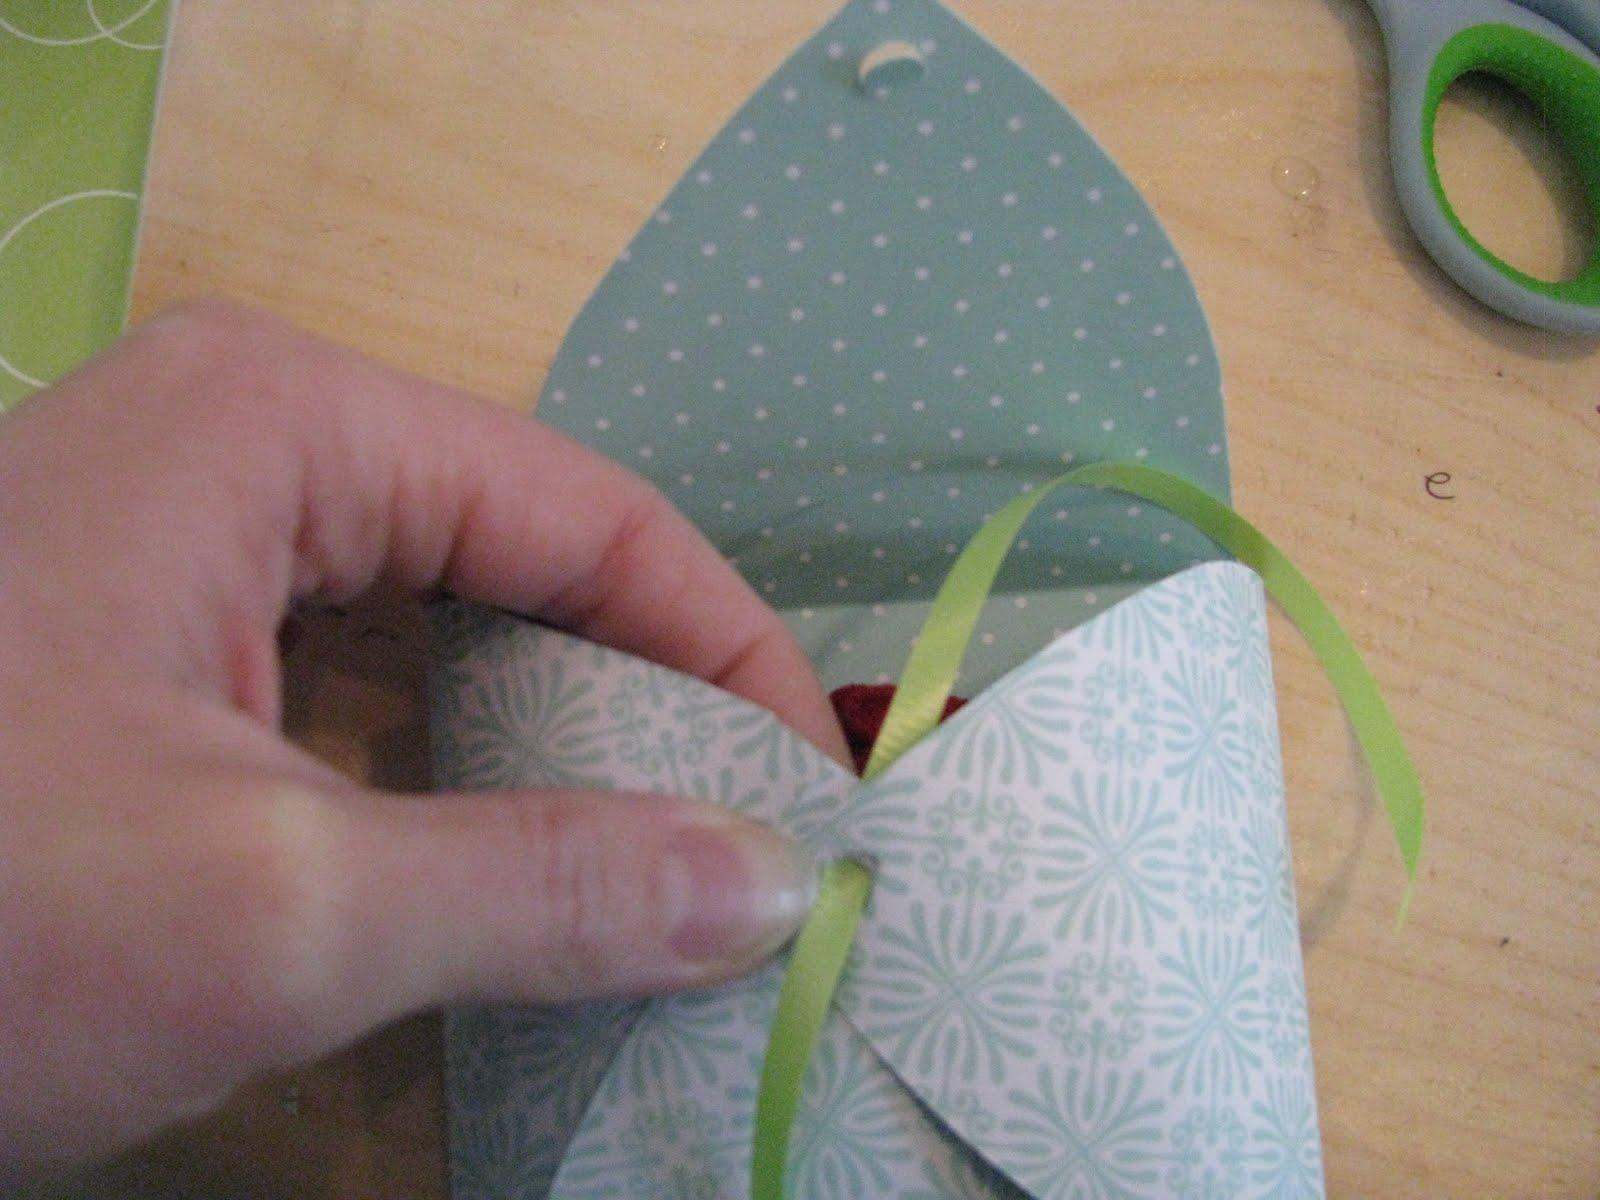
Put the two ends of the ribbon together then thread them up through the fourth petal’s hole. Tie a bow.
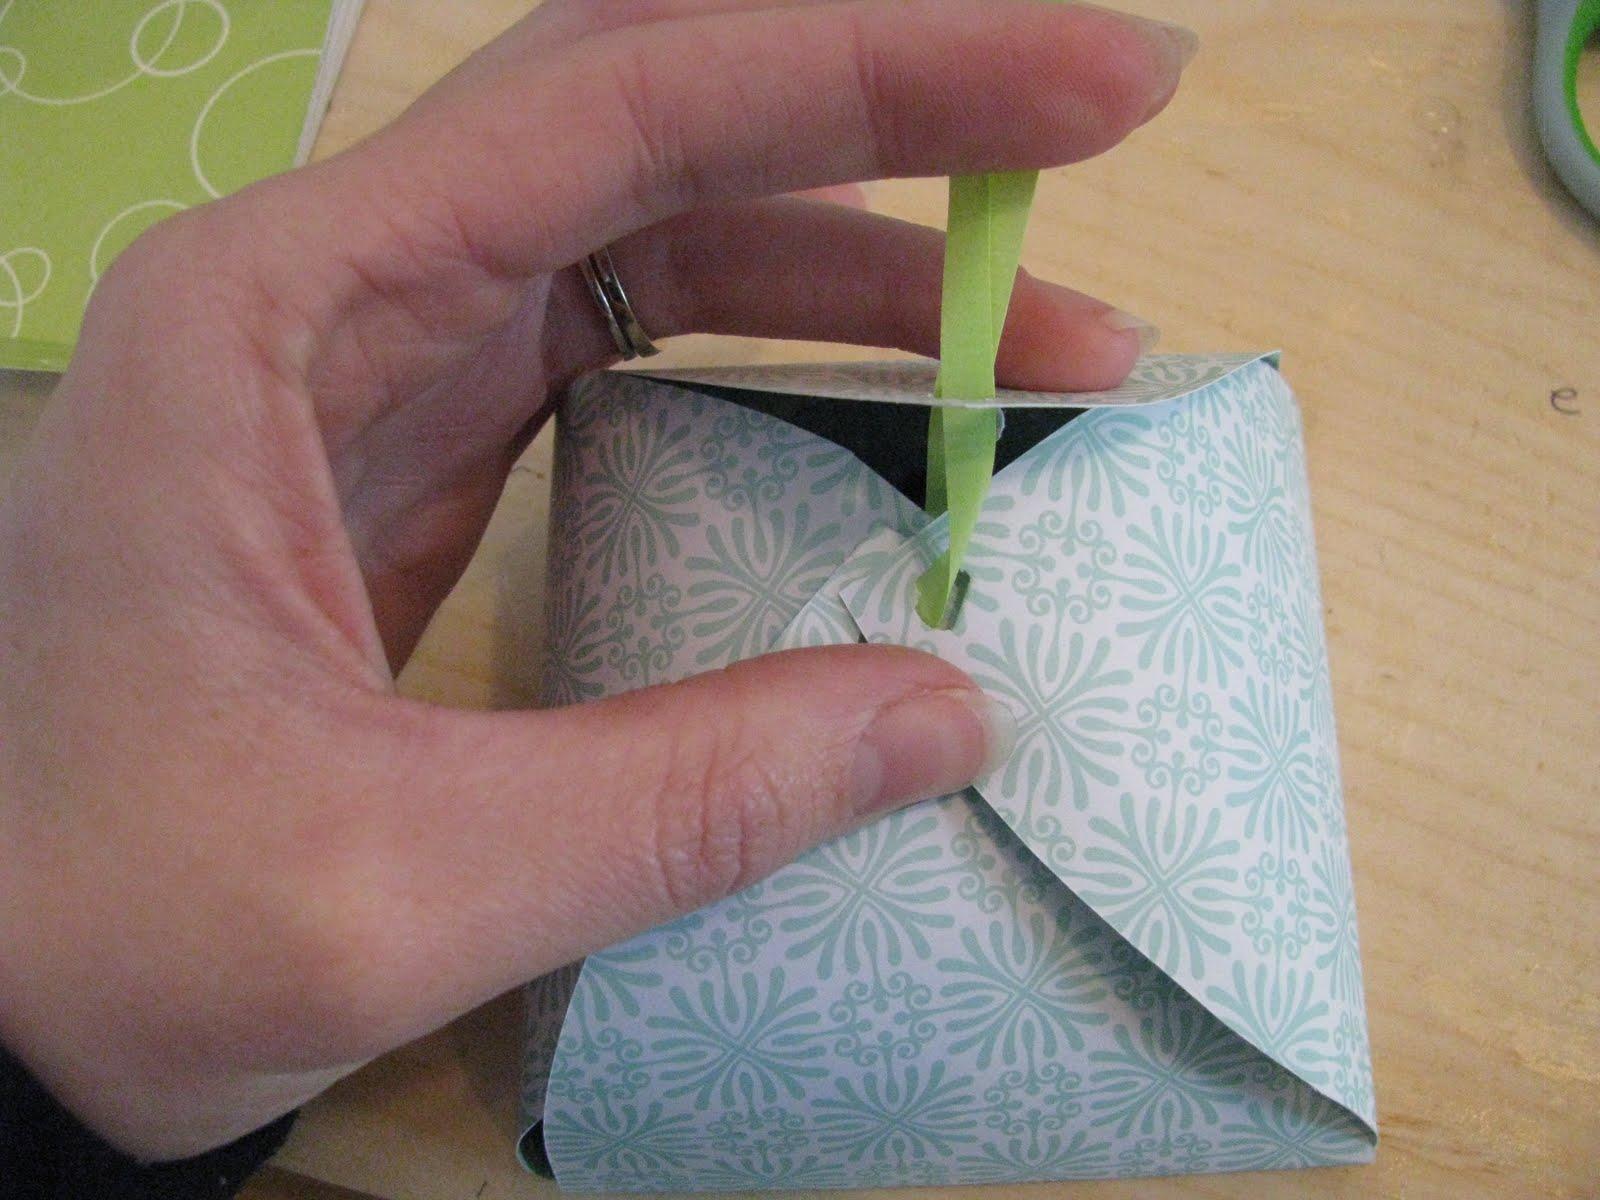
Then squeal!
Update:
- I’m happy to share my own free printable of the petal-shaped gift box template here.

Very cute! Great idea!
I wish one of those lovely packages were for me 🙂 x
This is adorable!! cute wrapping on a gift makes such a big difference 🙂
Wow, what a cute box! Thanks for the instructions! Another to-do for my list 🙂 Can't wait to see your pics from HFFK. Our event in on Dec 5 and is still in the planning phase! xx
Very cool, and I love how you can make them for any size. Thanks so much for this, I'll be linking.
I love these! Thanks for such a versatile gift wrapping option. I'll definitely be doing several over the holidays :)!
perfect! Just what I need for home-made Christmas gifts. Thanks!
Just made one of these little boxes and it turned out perfectly! Thanks for sharing this … they will make Christmas pressies even more special now!
Love the packaging. I'm pretty convinced that half the gift is the package!
very cute idea!
Joanne, can't wait to hear how your event goes!
Janine, so glad yours turned out. Aren't they fun!?
Laurel, I TOTALLY agree! Wrapping is one of my favorite parts of gift giving!
-Sarah
These are SO cute! Clever way to wrap odd-sized gifts. Have you tried making bigger ones?
go you! Those are awesome!!! I was trying to figure something out a few weeks ago and searched high and low for a tutorial and came up empty handed. I finally (with my husband's help) managed to figure it out myself and i was so excited too. 🙂 Great job!! 🙂
Super boxes 😉
Hugs
Madi
I just found your website and I'm in love. I'm going to make a template to download for your box. It's too sweet! I'll be sending people your way to see these darling boxes. I love them! Now, I'm off and browsing! I wish I had more time for blog reading, I feel like I'm missing out on so much! Thanks for being so creative and inspiring!
Oh my, I LOVE those little flowers! Gotta make me some of those. 🙂
These would be great to stack cookies in for little gifts at any holiday! or even for birthday party favors to cookies or a cupcake- love it!
to ,ake the one you linked to, you tuck the flaps under the one to the right of it! you have to hold the first and second ones in place while you tuck the others, though!
awessuuumm 🙂
Hi! I featured you beautiful tutorial on my blog!
Hi!
Great box I love it!
Where can I find the double sided card stock?
Or do you know of a palce that ship to Israel?
(I'm from Israel…:)
Thanks,
Noa.
The information in this blog is extremely useful for the people.
Good
Cotton Saga
Creatively artistic boxes. Simply adorable. Uniquely different from normal square ones.