
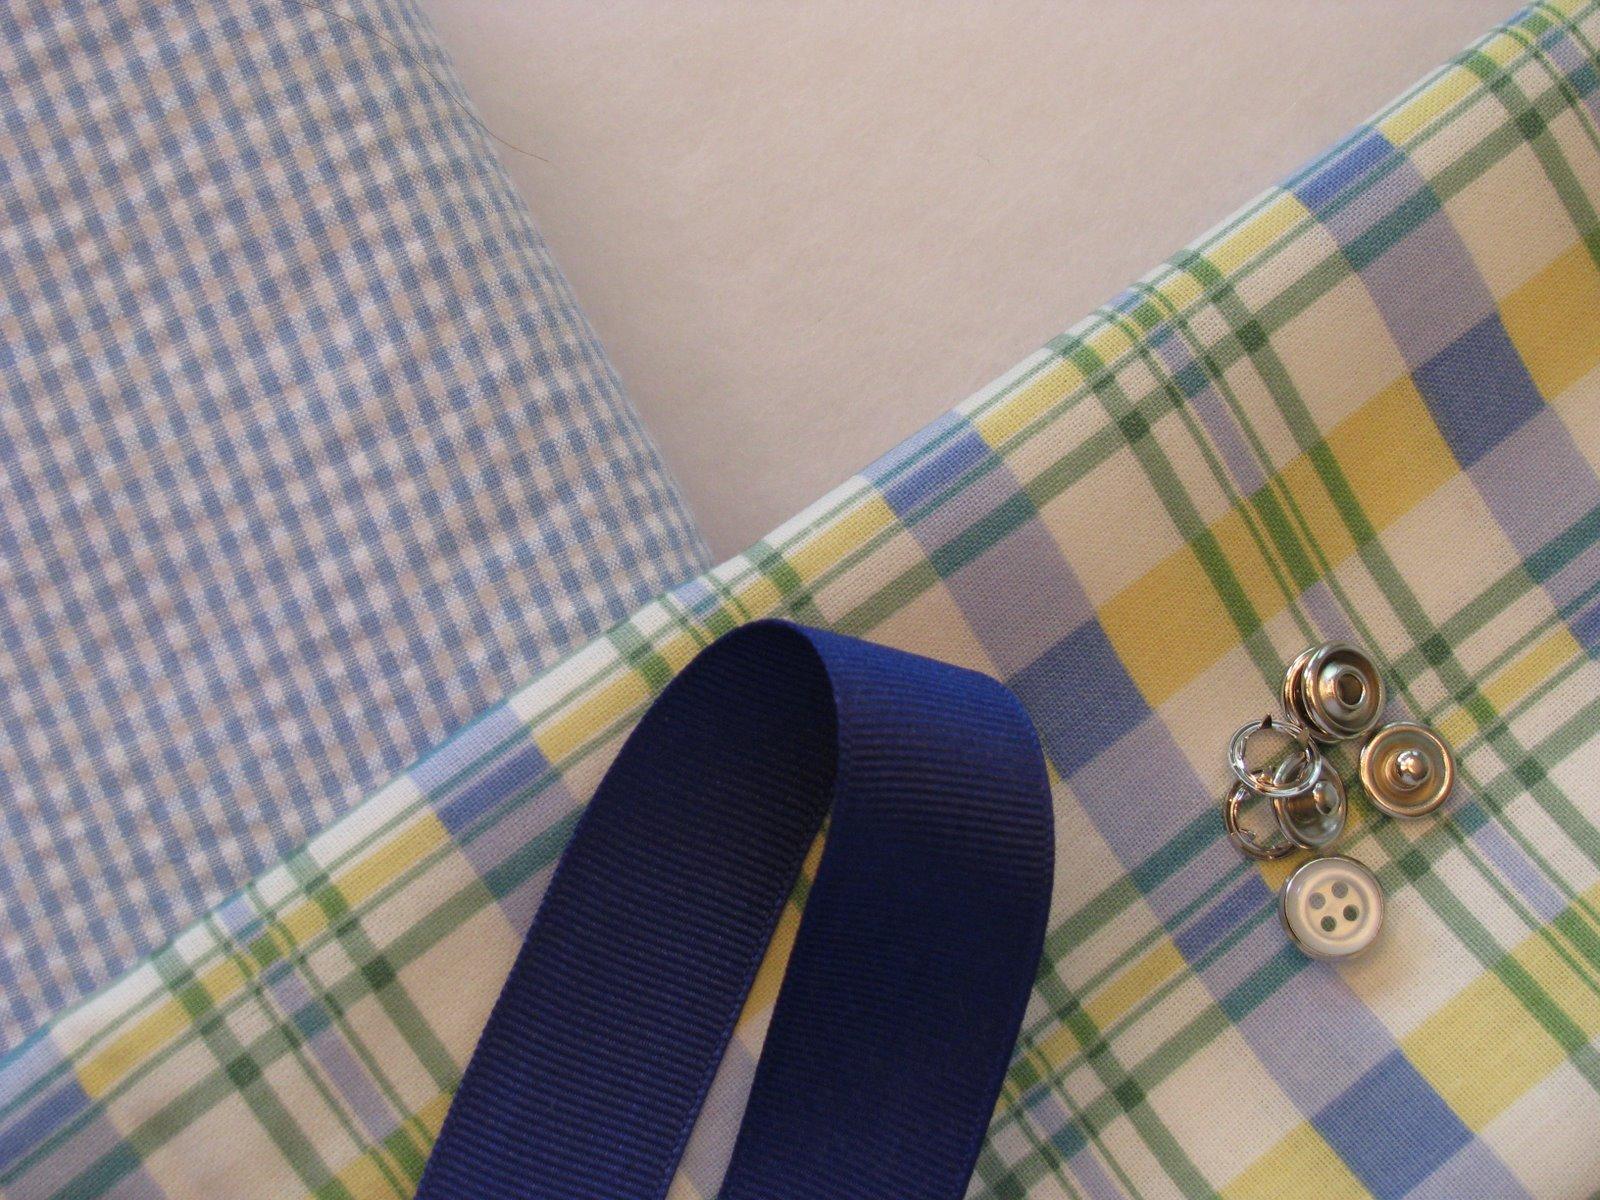
- Two snap sets
- 17 inches of ribbon cut in half
- One 12.5″ x 25″ piece of fabric for the outside of the bag (We’ll call this “Fabric A”)
- One 12.5″ x 25″ piece of fabric for the inside of the bag (We’ll call this “Fabric B”)
- One 13″ x 25.5″ piece of batting
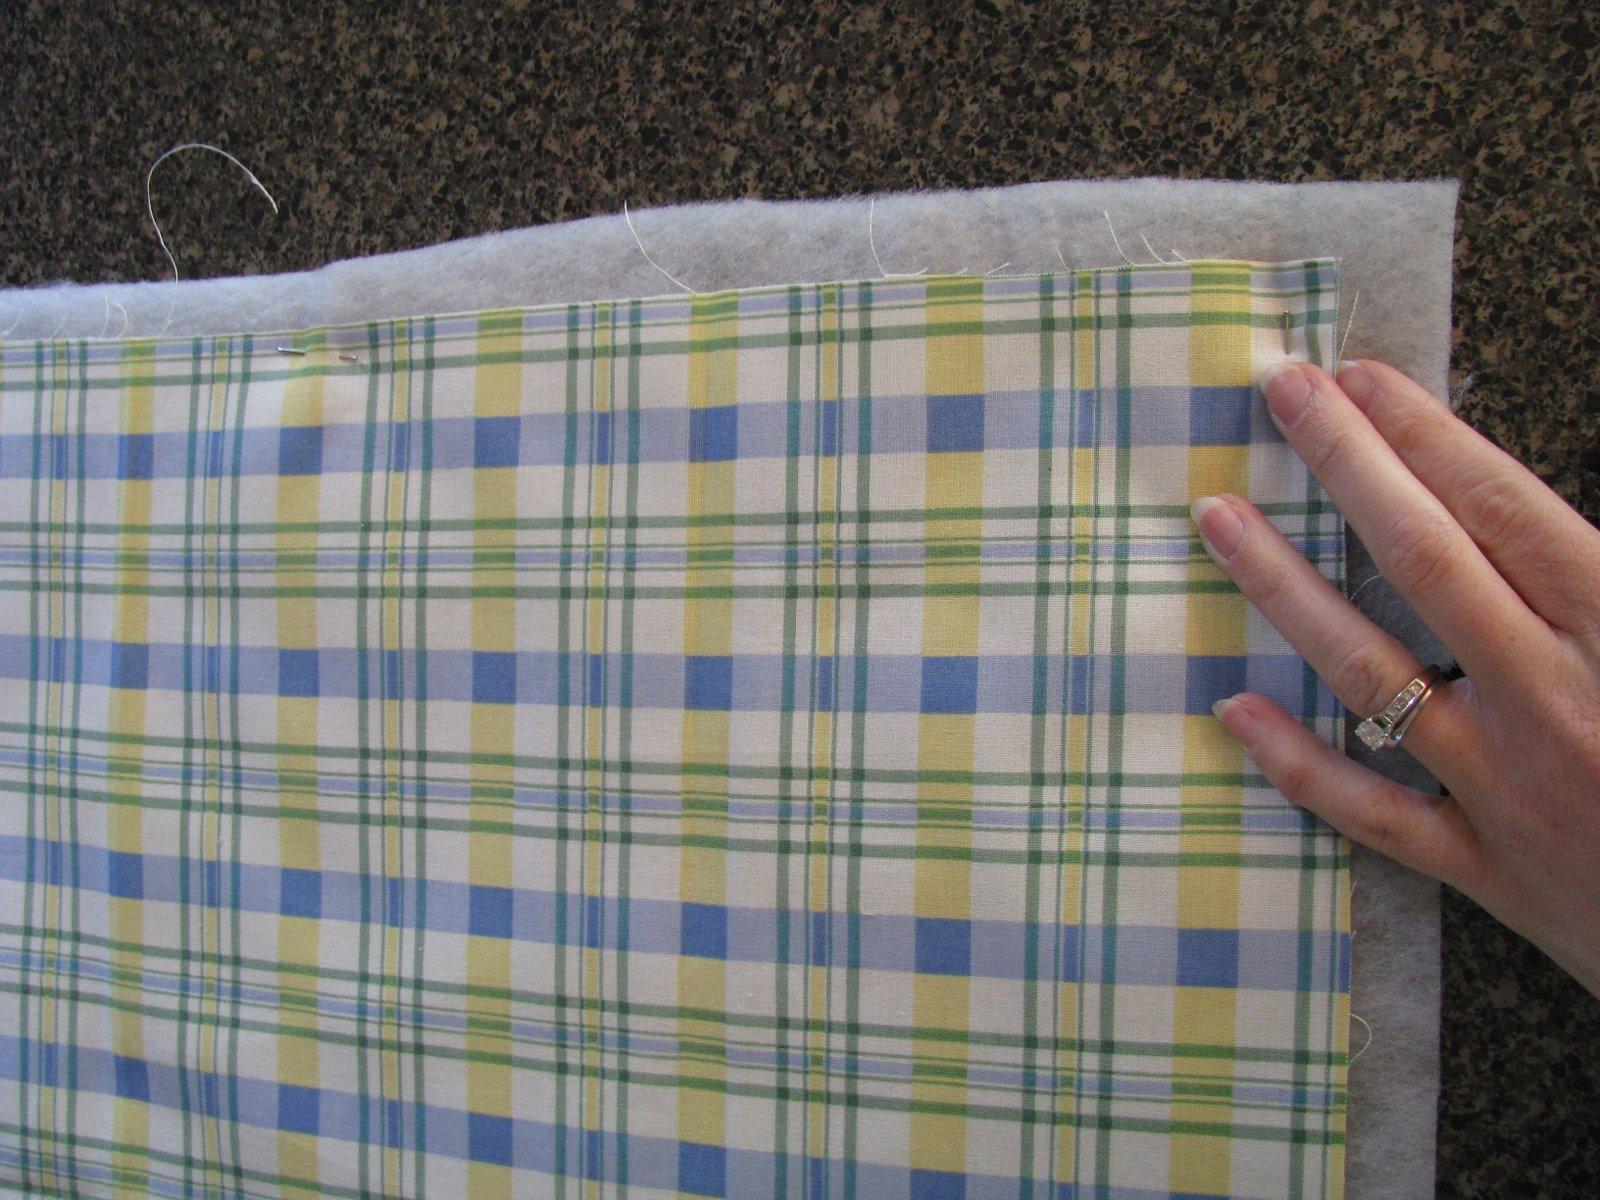
Lay Fabric A on top of the batting, pin and sew all around the edges. (All seam allowances are 1/4 inch.) Then trim off the excess batting.
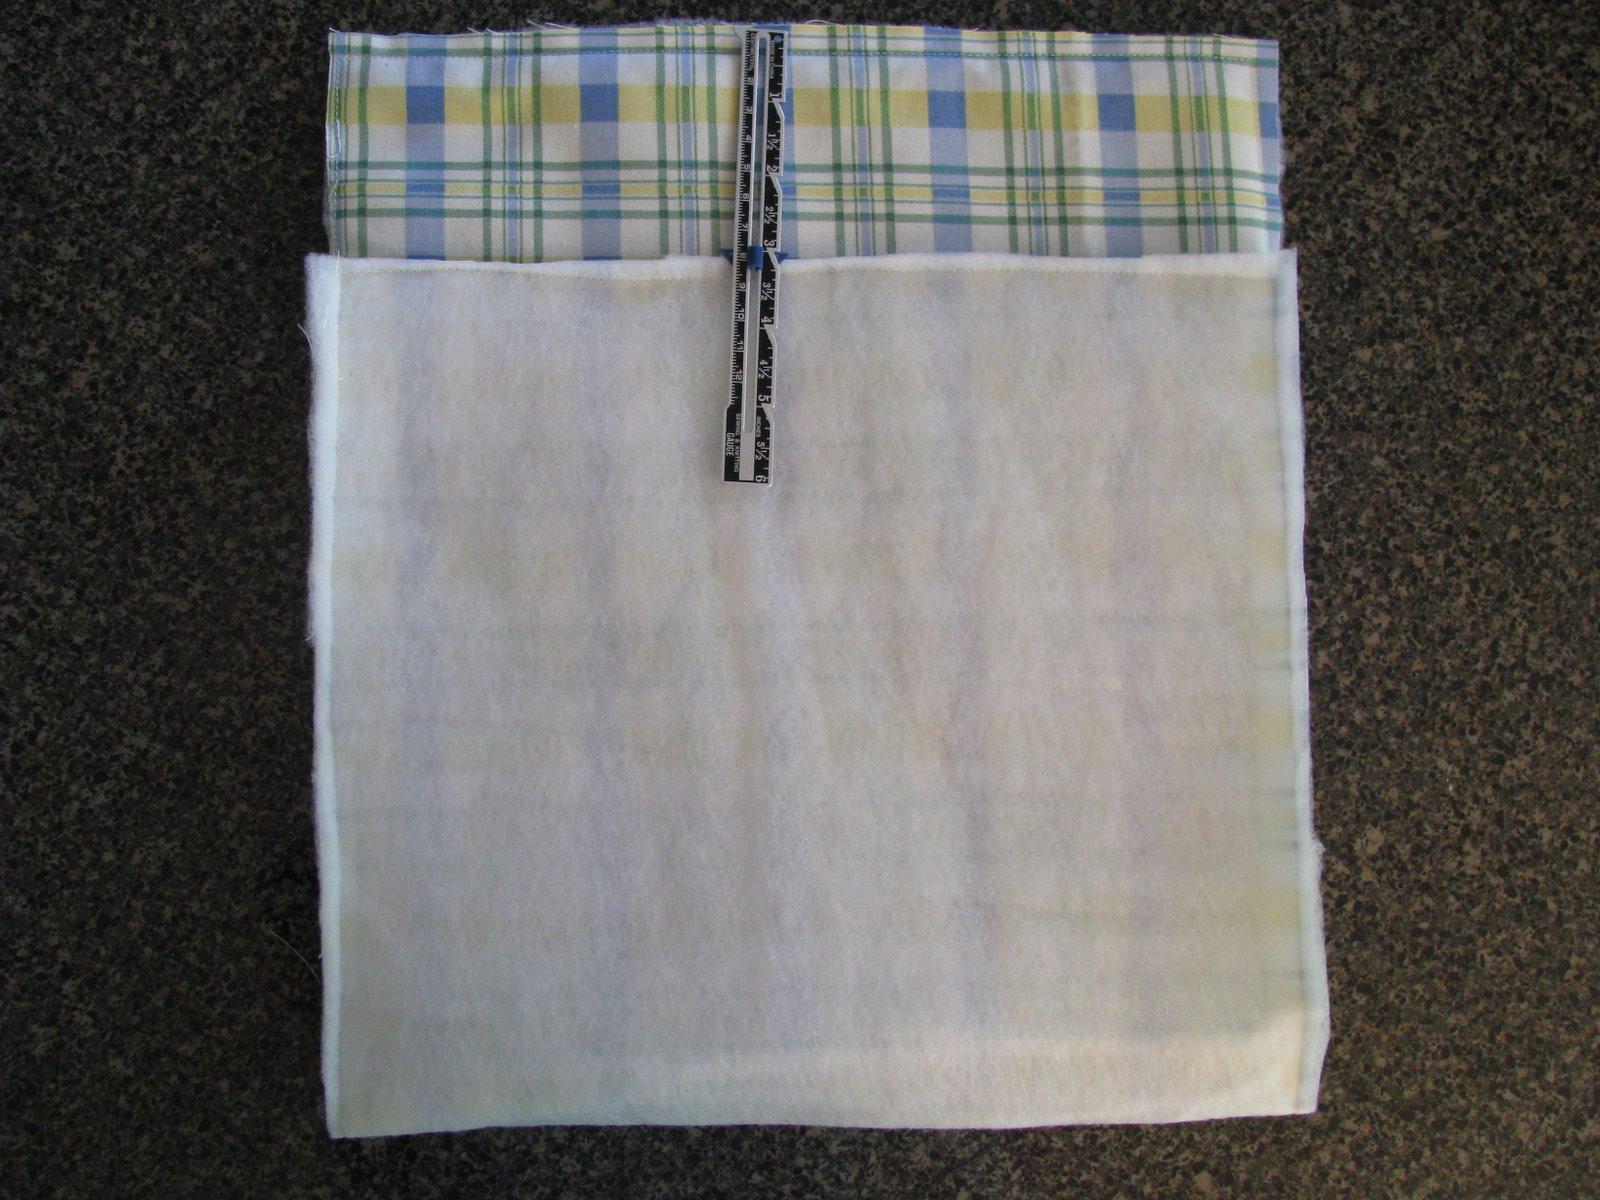
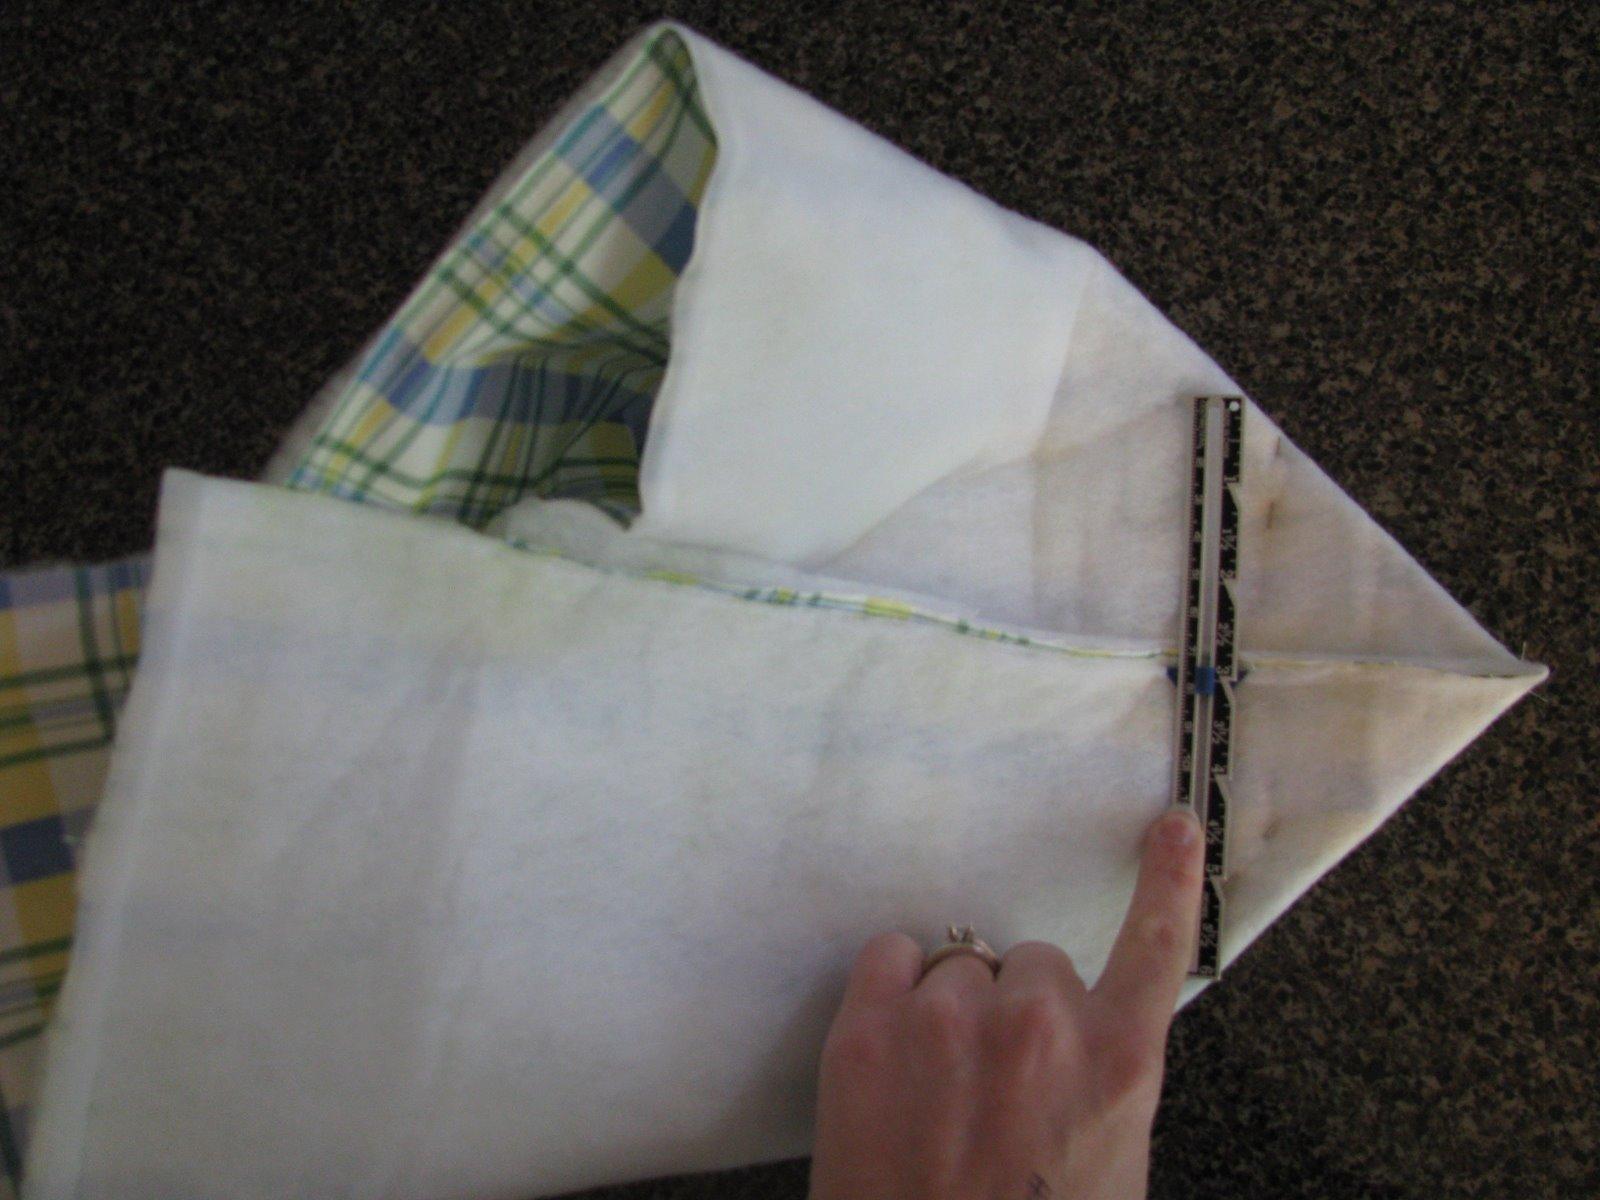
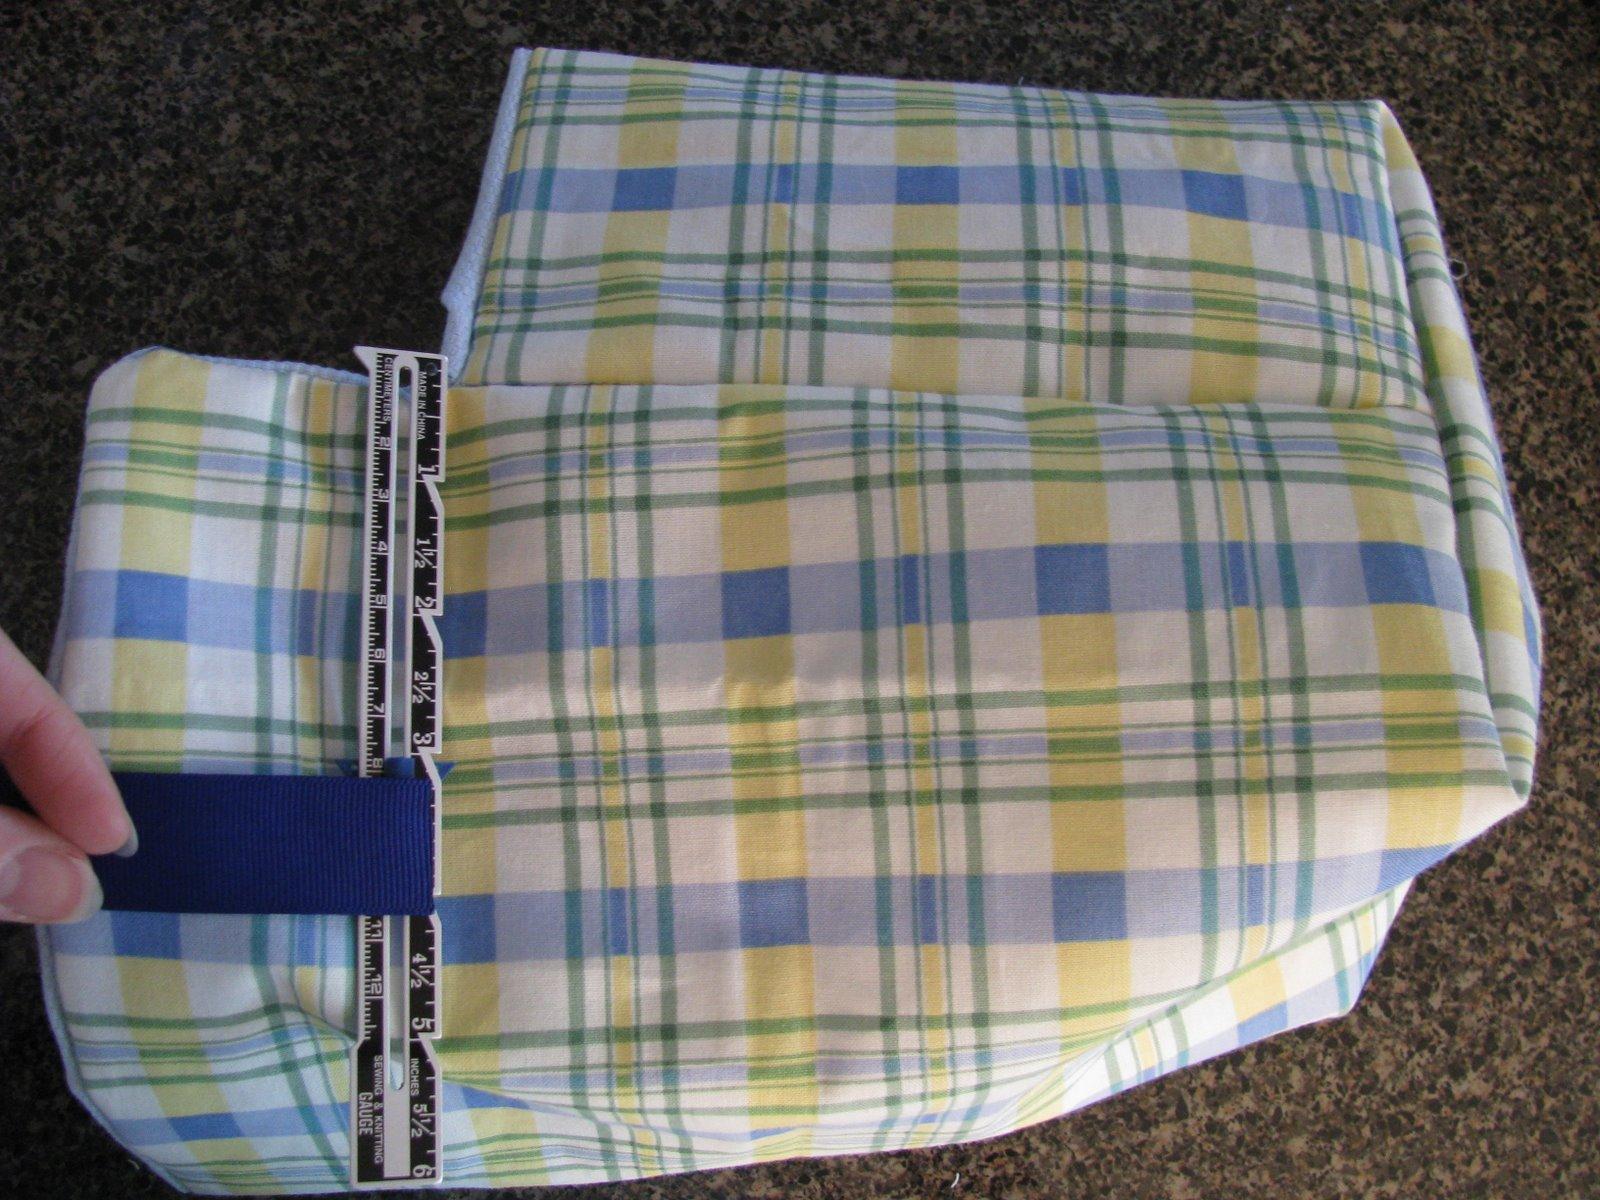
Fold the rectangle like the picture shows below leaving 3 inches of Fabric A showing at the top. Sew down the right and left sides.
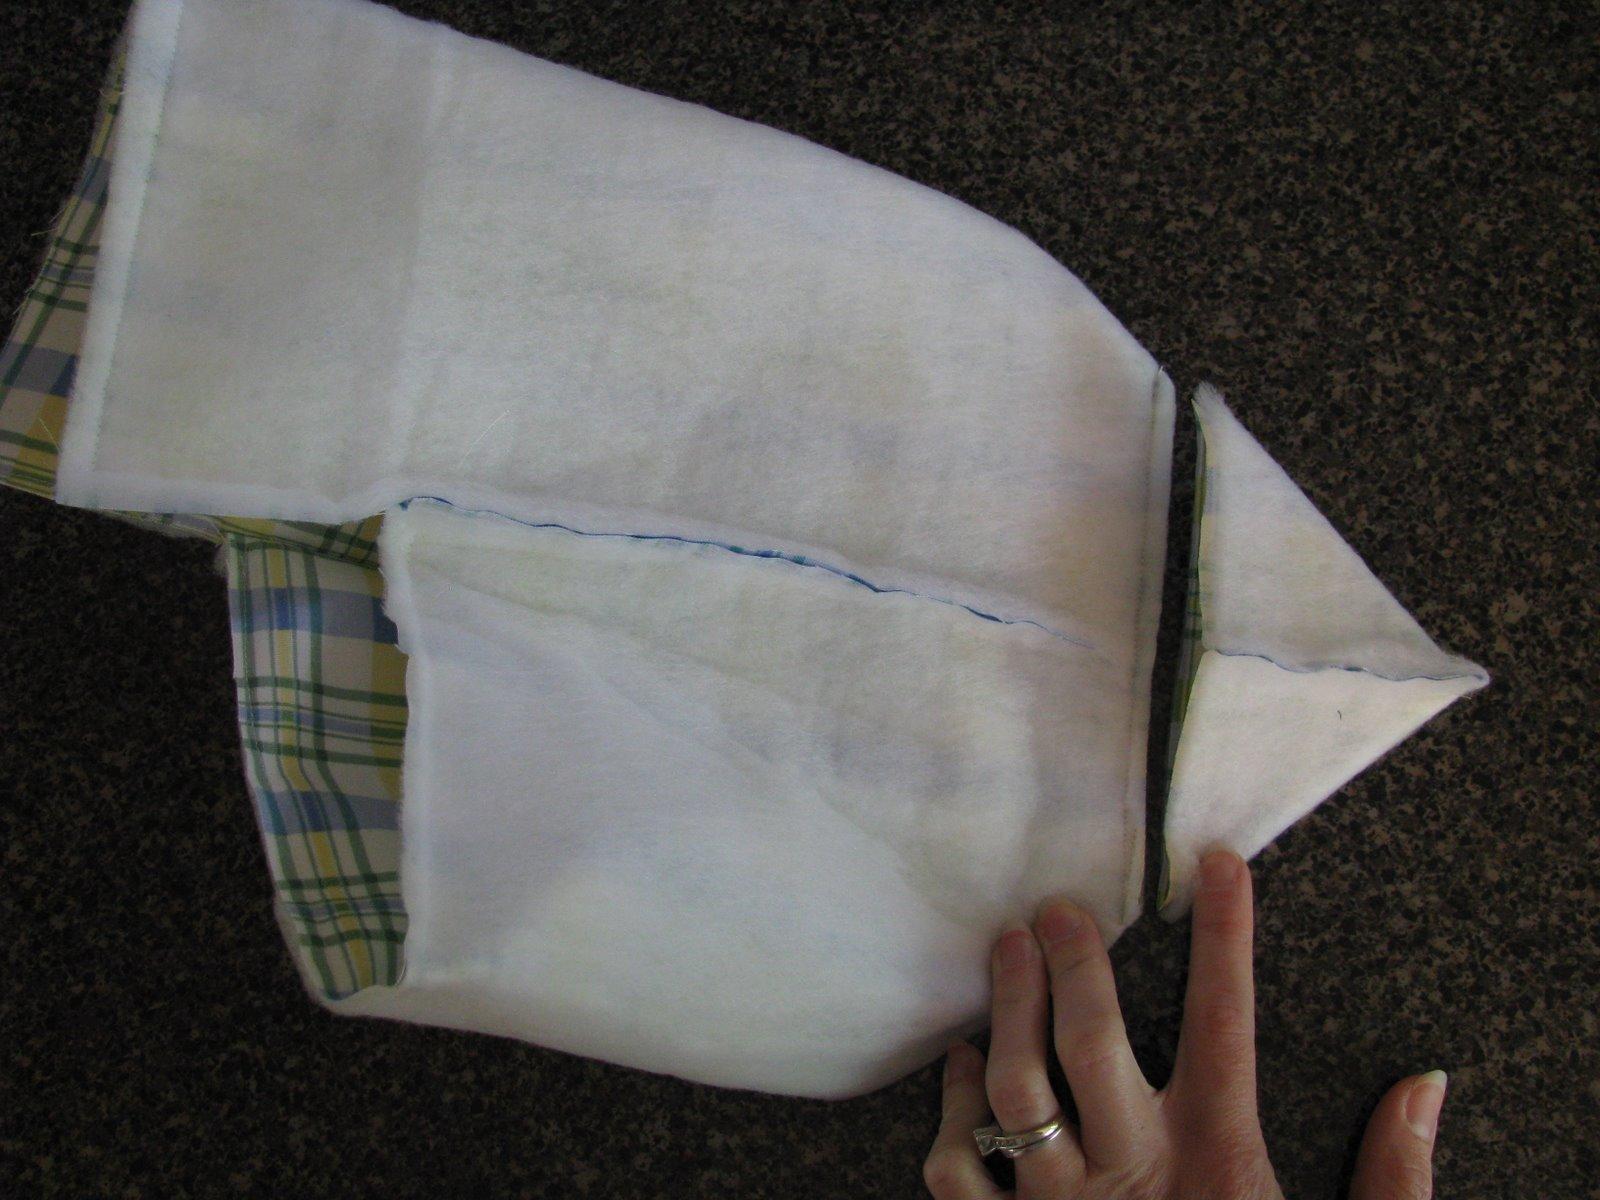
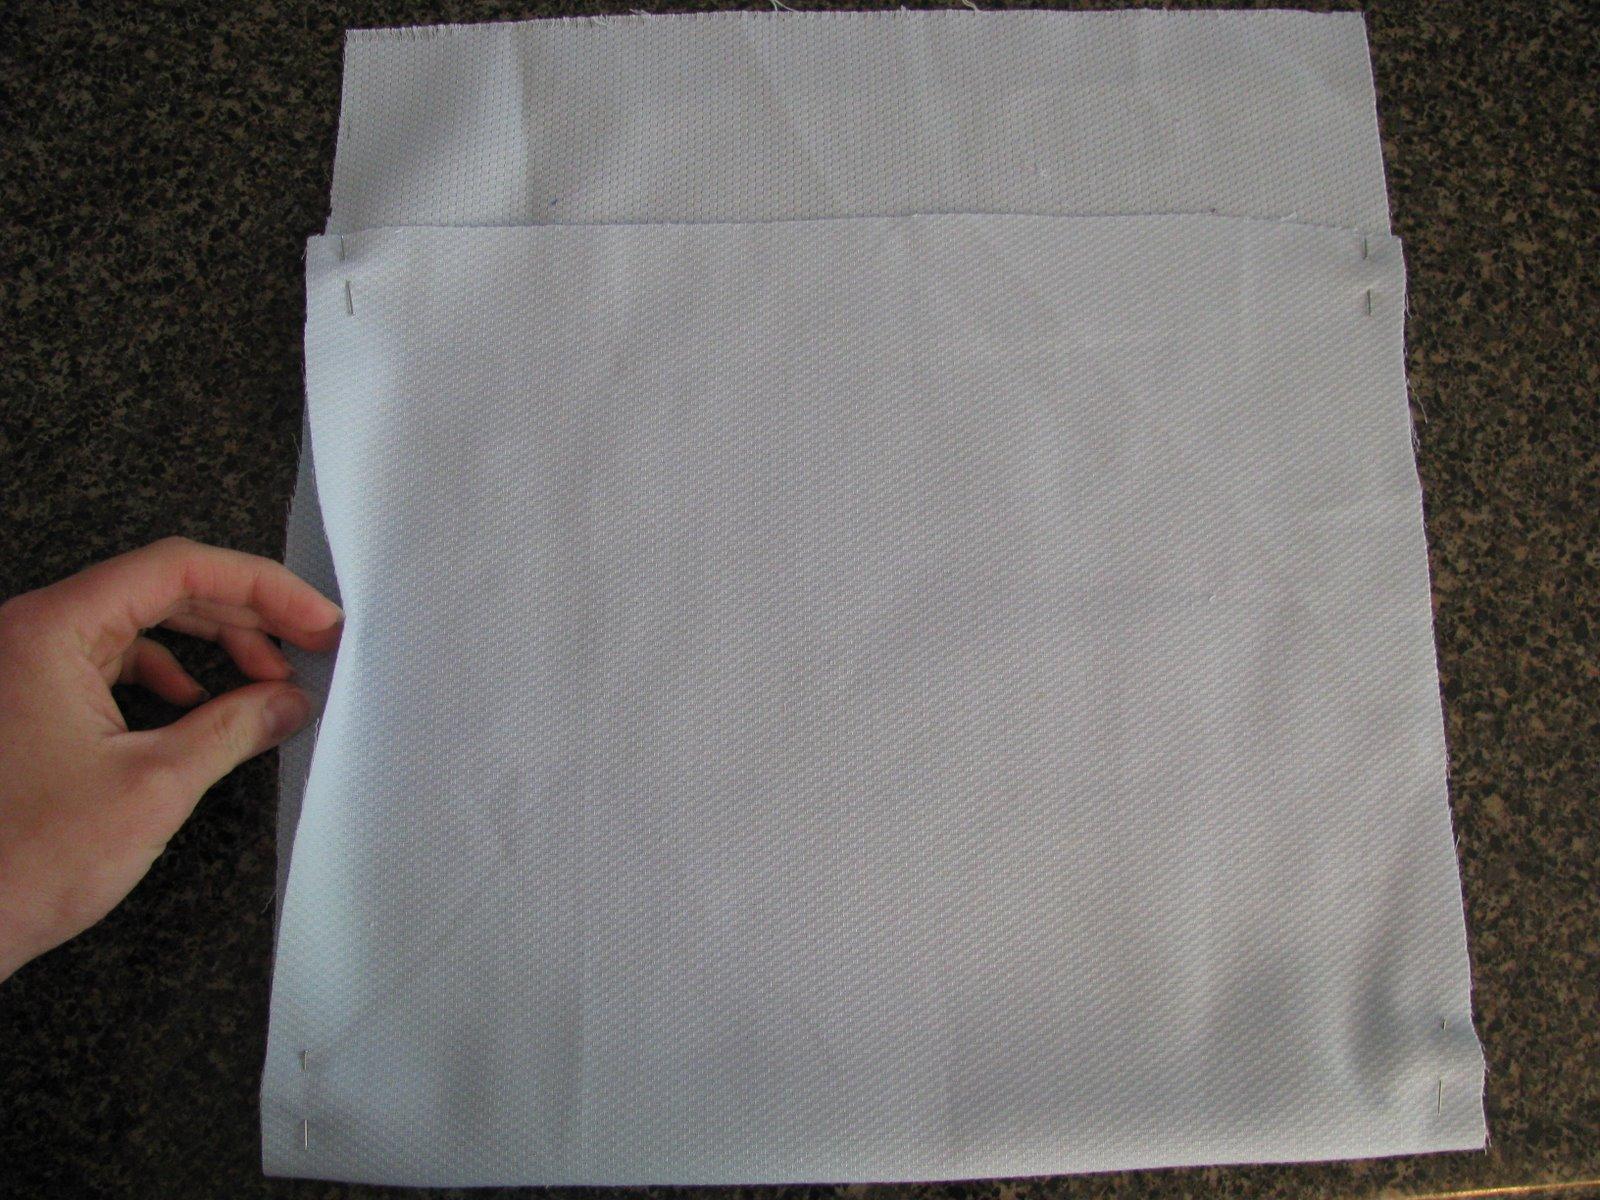
Now we’re going to move to the liner. Fold the cut piece of Fabric B like you did earlier, leaving 3 inches of the fabric at the top. If you’re using a two-sided fabric, be sure the right sides are folded together. The trick here is that you’re going to sew all the way down one side and on the other side leave a 3-inch opening in the middle where my fingers are below.
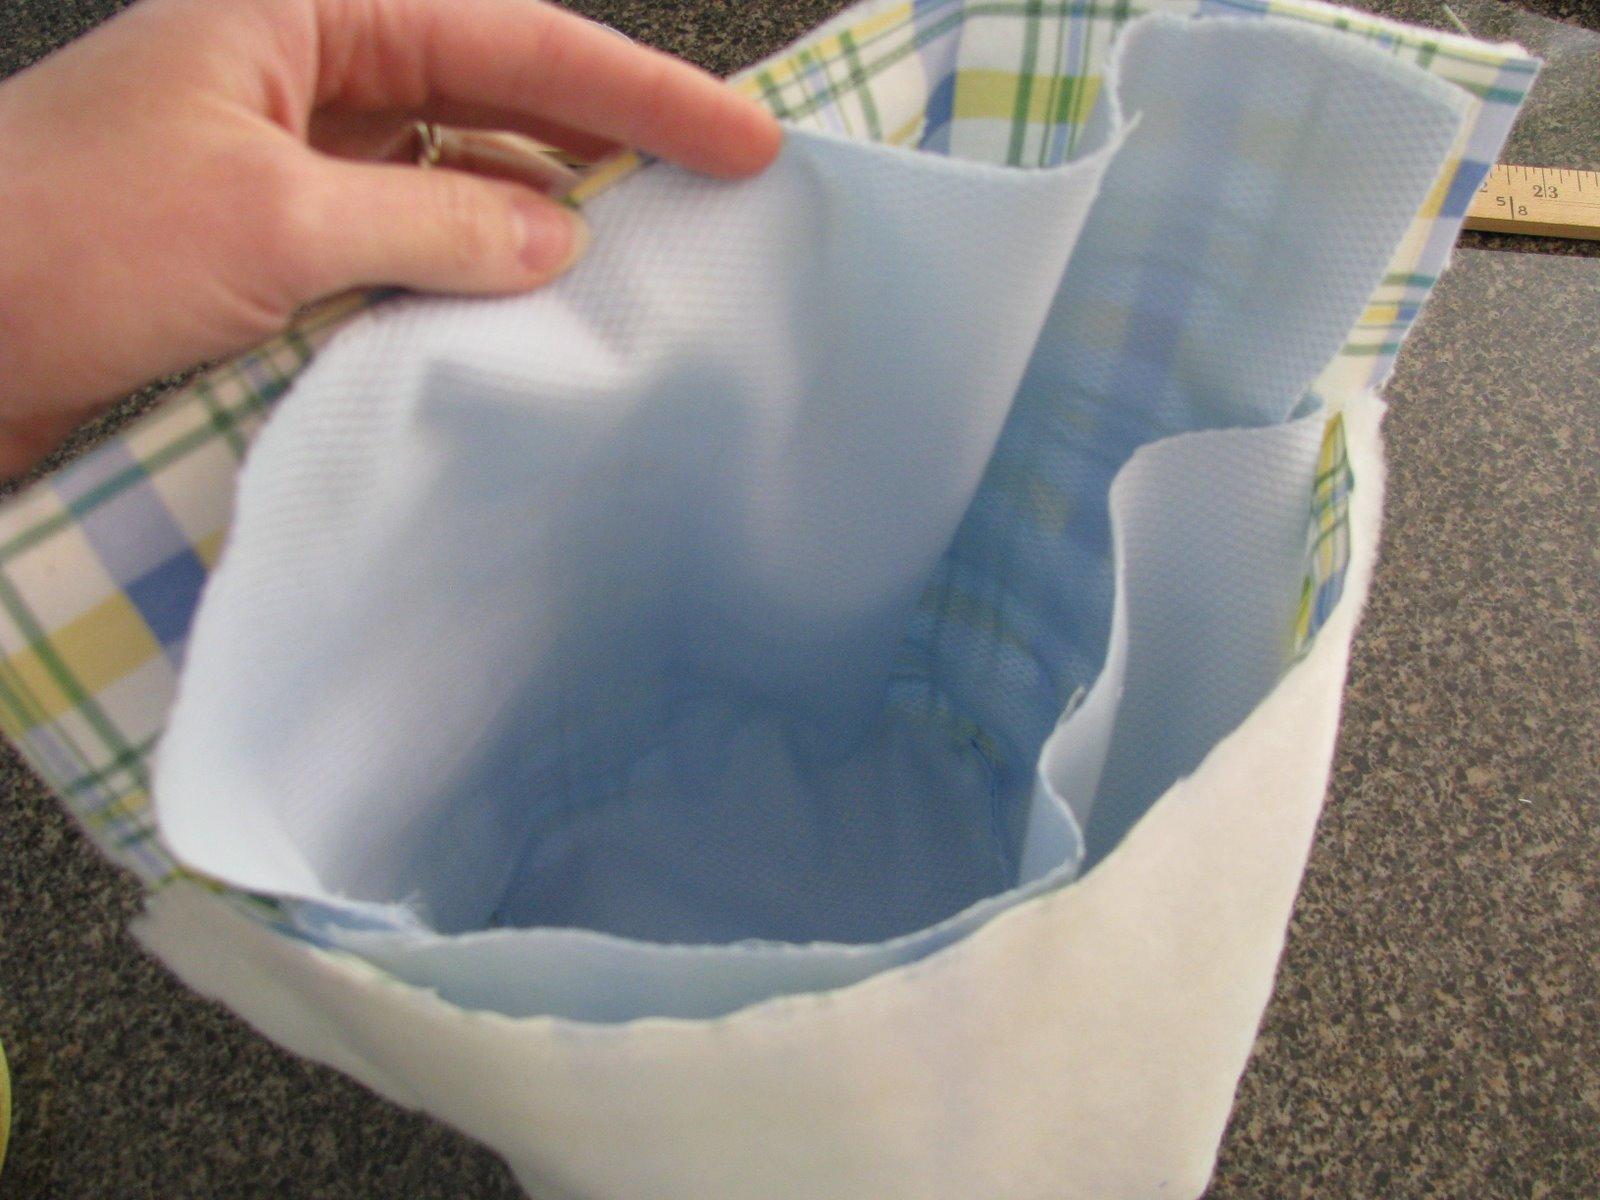
Turn the liner inside out so that the seams are on the inside place it inside the outer part of the bag we made earlier. (The right side of Fabric A will be touching the right side of Fabric B.) Now pin the two pieces together and sew all the way around the top edge. Turn the bag inside out using the small hole in the liner.
Once the bag is turned inside out you’ll need to attach your ribbon snaps. Measure 3 inches over from the top flap on the bag and pin your ribbon in place. I sewed my ribbon on, but if you’re just now joining this tutorial with a pre-made bag you can attach the ribbon with fabric glue just about 1/2 inch on the tip of the ribbon, allow it to dry and then move on to the snap part with us.
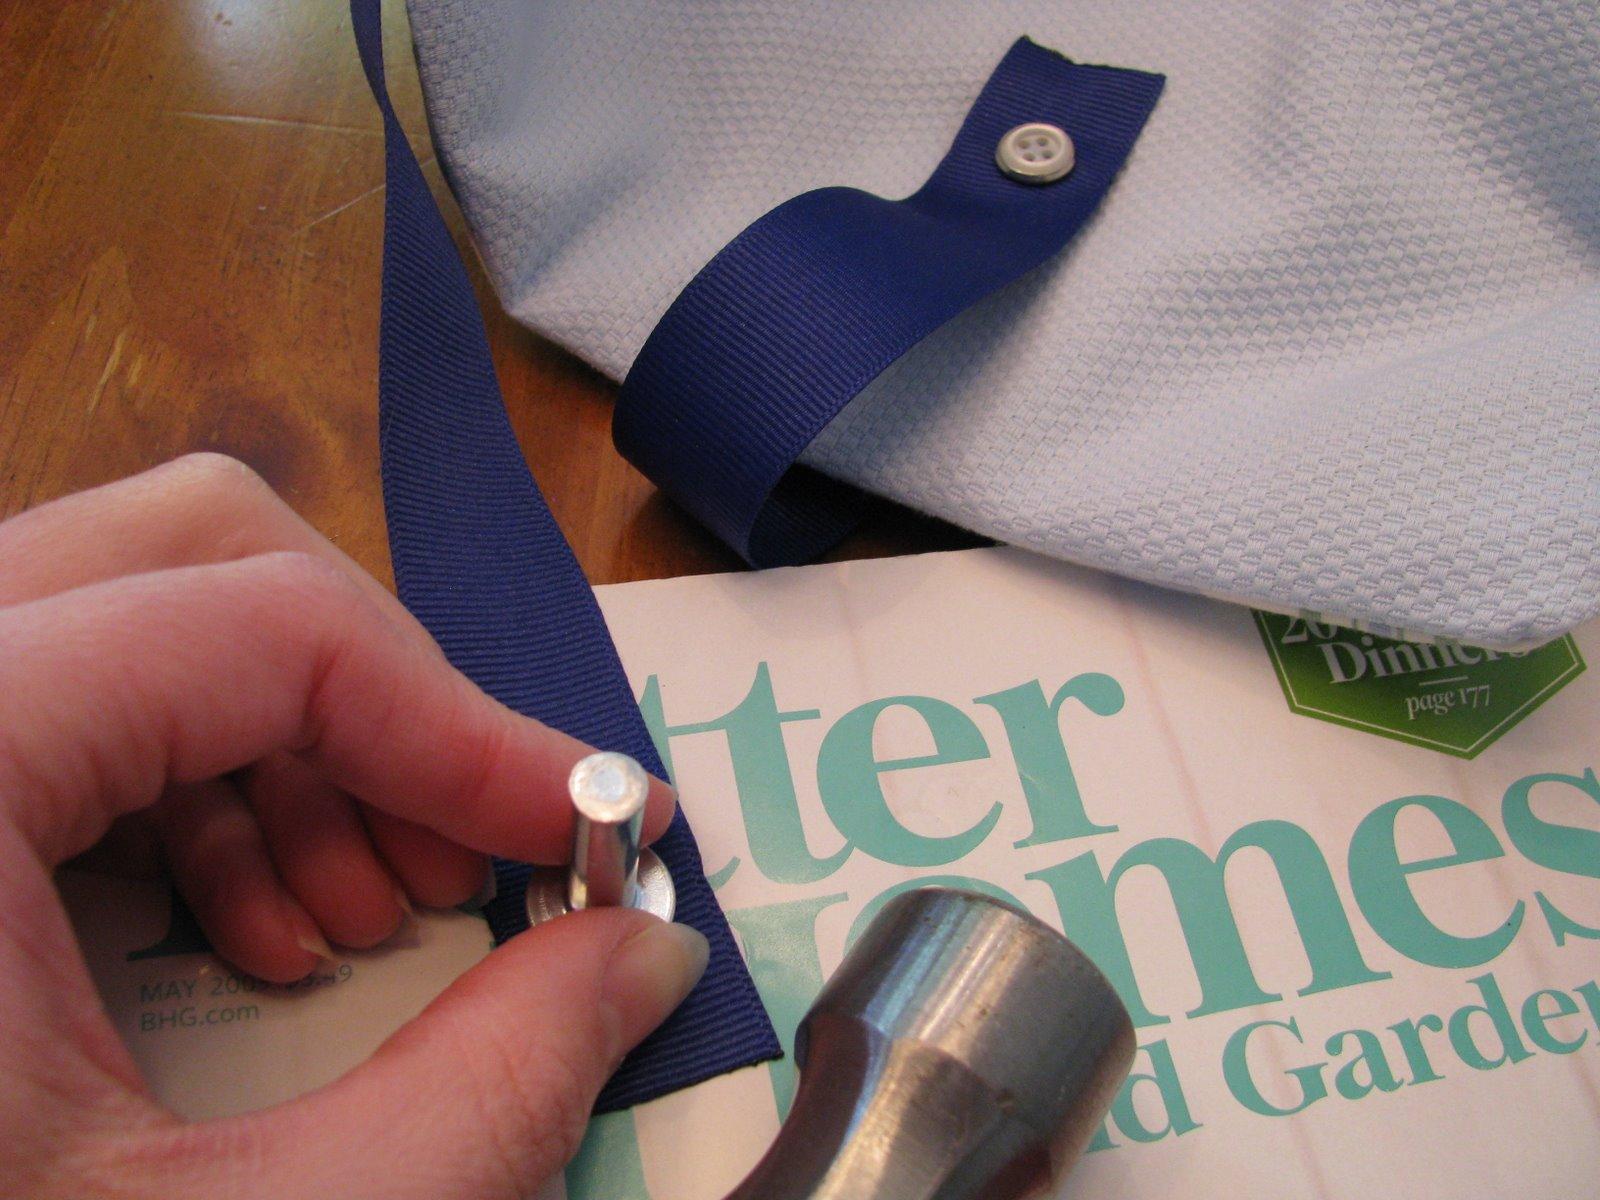
Once the ribbon tip is securely fastened to the back of your bag it’s time for the snaps. Follow the instructions on the snap kit you bought for attaching the snaps. The back of the bag pictured below will have the back half of the snap set.

Attach the front half of the snap set to the ribbon, like I’m doing in the picture below. (My snaps look like little white buttons. They came this way. If you like this look I would recommend buying snaps that are made like that rather than glueing on buttons… that’s a choking hazard.)
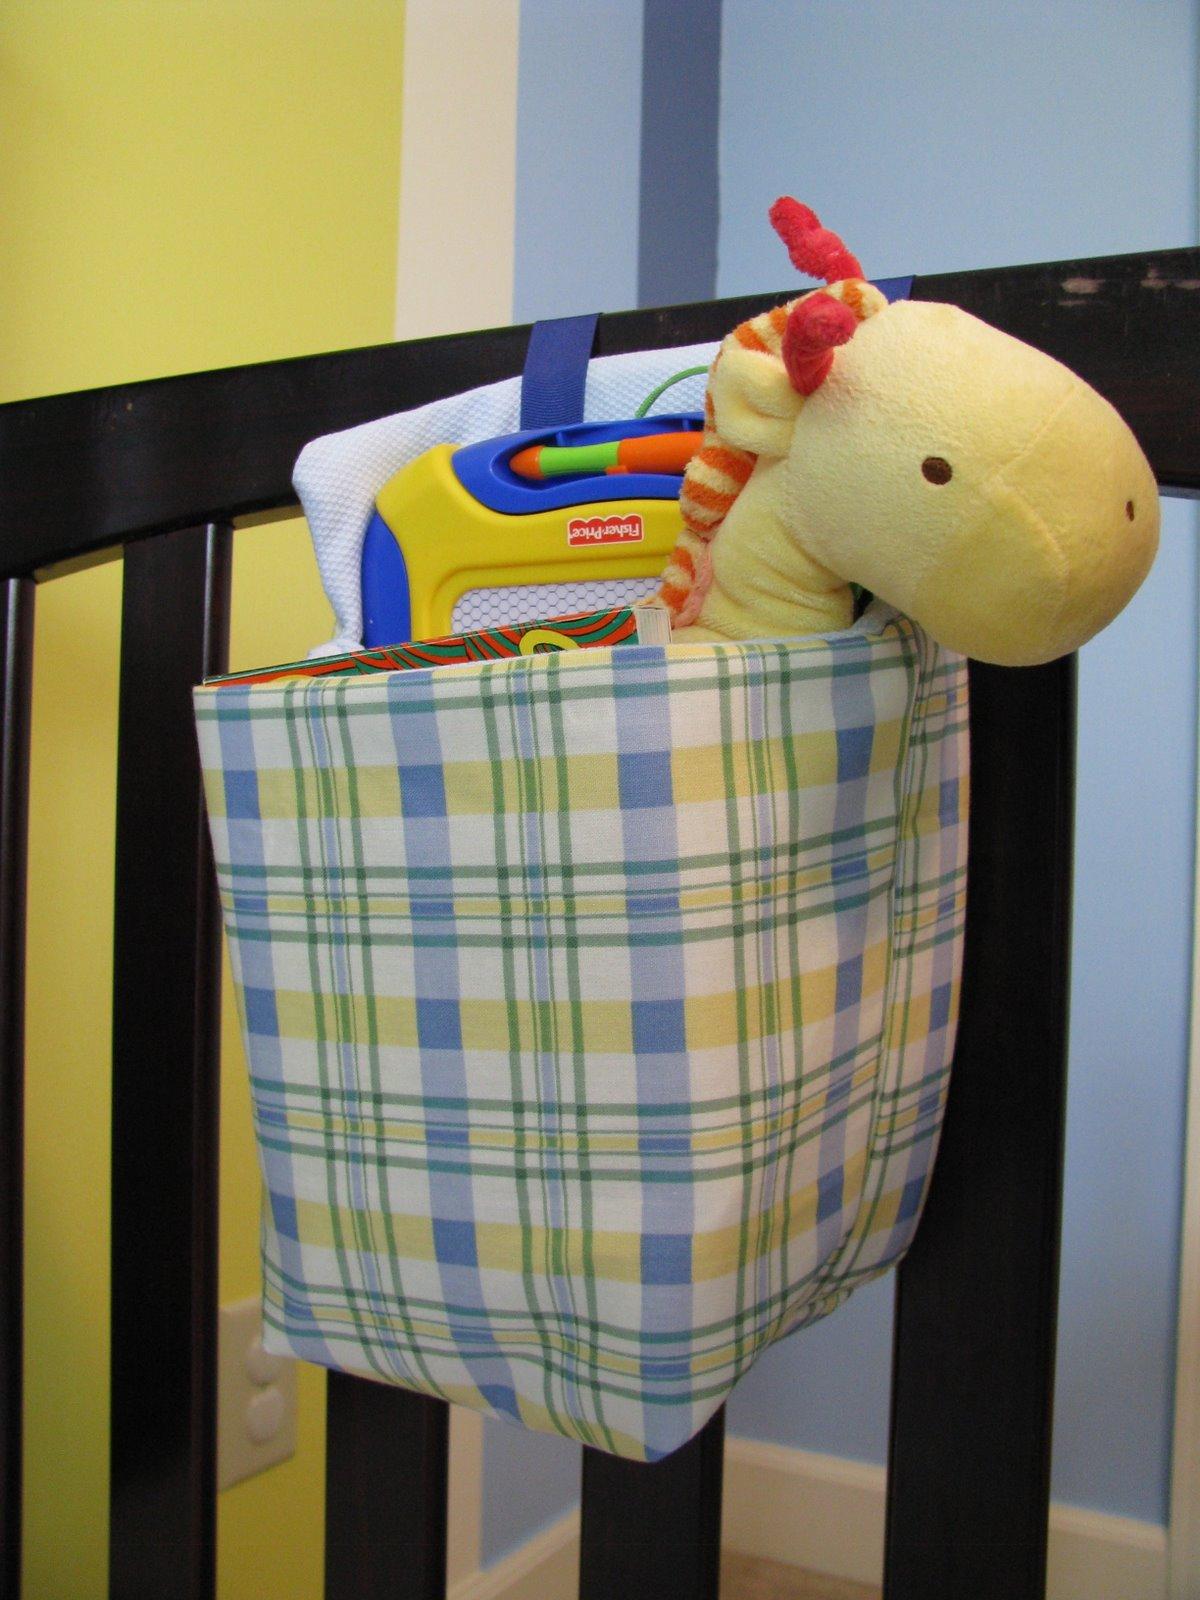
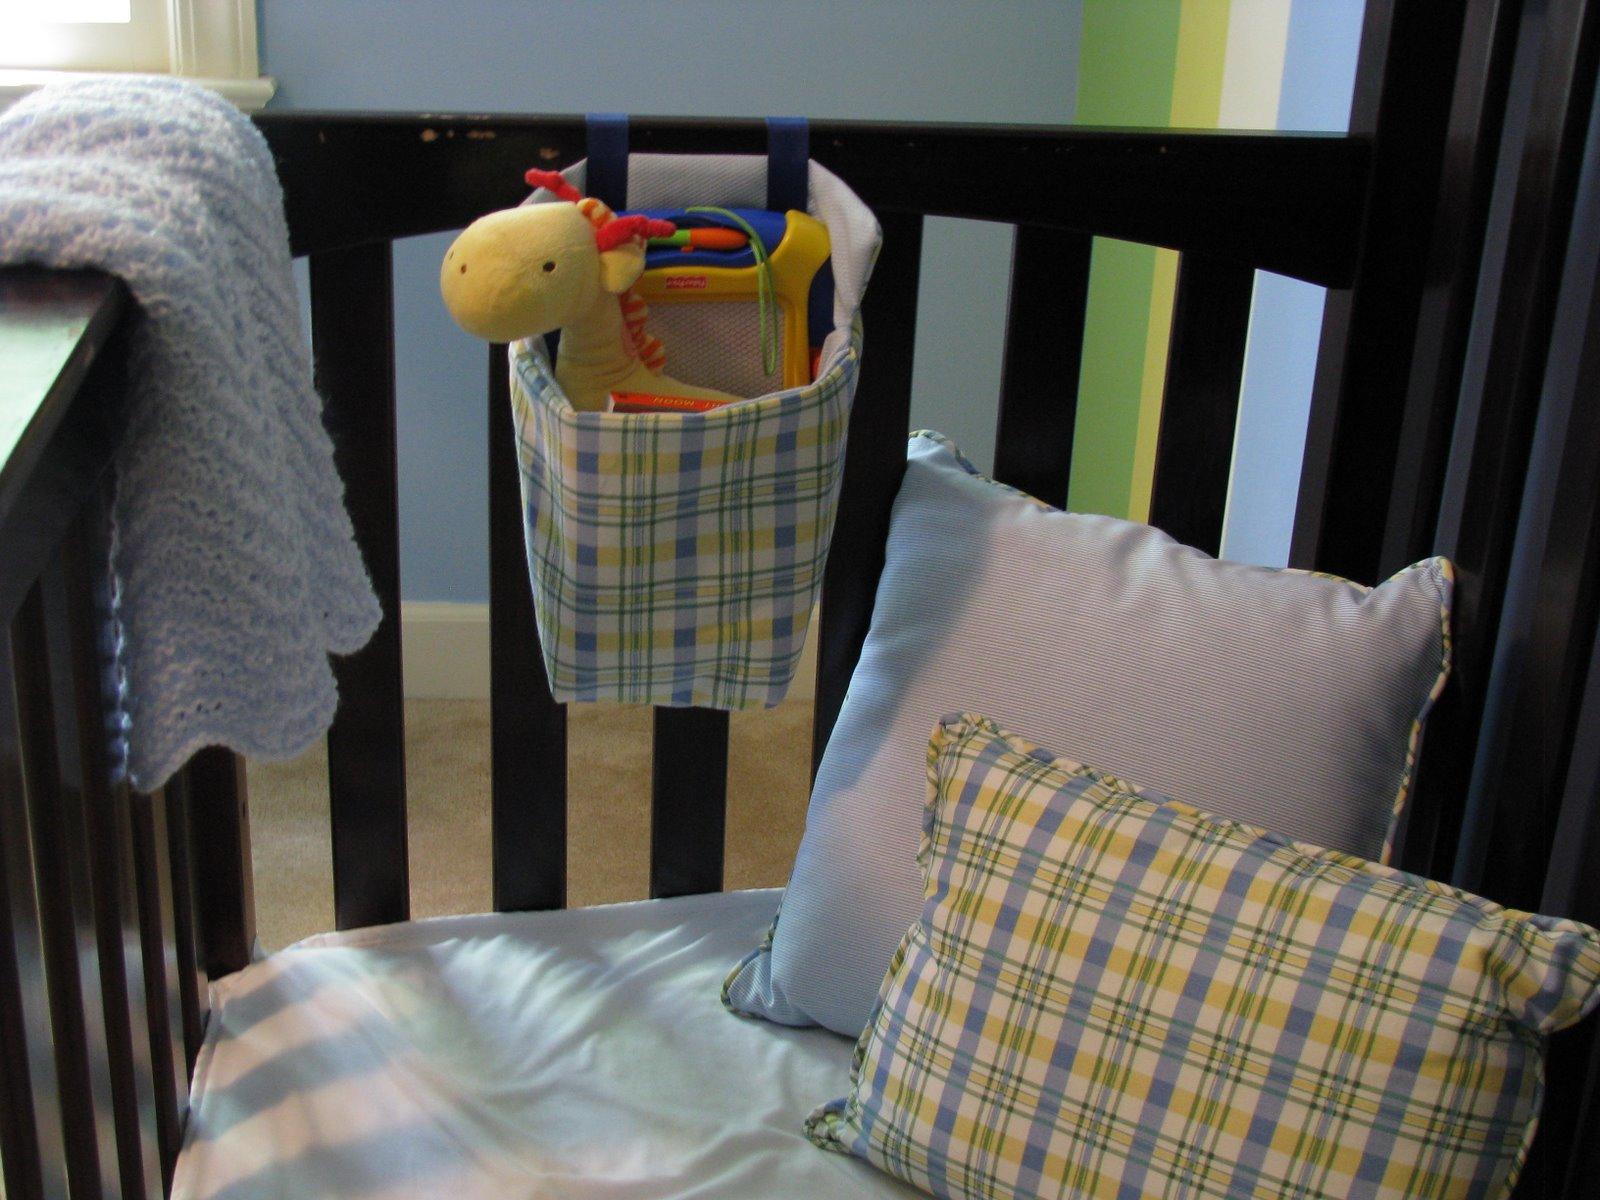
Here’s a view of what the bag looks like attached to the crib from the back.

And the view from the front. No, Owen’s crib is not always this neat… I staged it like this for the picture with the pillows I made during my second trimester. Let me know if you attempt this project! I’d love to see how you change it up for your little one!

Fabulous tutorial and such a great way to keep toys and other essentials handy! I’ll be linking!
This is gorgeous! I don’t have a baby or a crib but could definitely use this for other things. Thanks very much!
OMG I love this. I made something very similar about a year ago for my son’s binky’s….I put a few in there at night or nap time and then if he “loses” one in his sleep he just goes to the bag and gets one. I’ve seen him do it practially in his sleep it’s great. We’ve got them all over the house now. BUT I could never get the straps just right. So I can’t wait to try this…thanks for the wonderful tute and for sharing. I’ll send pics when I get it done.
so fun! I think I’ll make this when my son starts pulling himself to sitting
Very clever!! When my little one was a baby, we definitely could have used one of these. I posted a link to your tutorial on Craft Gossip Sewing Blog: http://sewing.craftgossip.com/tutorial-sew-a-hanging-basket-to-hold-crib-toys/2009/04/24/
–Anne
That is awesome! And I have to say- the fact that you gave a no-sew option is just awesome!!!
This is so awesome! I can’t wait to make one of these for my 19 month old son’s crib. Thanks for the great, easy to follow tutorial!
April, I’ll bet it’s hilarious watching your son sleep walk to get his paci’s out of the hanging bag! Too cute!
Anne, Thanks so much for the link! I love your site!
-Sarah from Create Studio
Thanks for this! I’m going to try to make it for my son. And, great blog, I found it on ohdeedoh. 🙂
Hello!
I really like your how to. I was wondering if I could translate it in French and add it to my list of how to as explained in my french post (http://www.petitcitron.com/index.php/form_howto.html)
Of course, your website would be quoted and there would be a link!
Thank you,
Perrine
Wow Perrine! I would be honored! Yes yes yes! Thanks for thinking of me!
I love this idea! I can’t wait to make one for my little Oscar.
Thanks for the tutorial! I just finished one for my toddler sons crib. The only difference was I used fabric scraps for the straps. He brings toys to his crib all the time, so this will give me a spot to put them away. Thanks again!
Dear Sarah,
I worked on the translation and you can find it here:http://www.petitcitron.com/index.php/vmchk/Pour-la-chambre/Sac-de-rangement-pour-lit-de-bebe.html
Please don't hesitate to give me your feedback!
Hi Sarah, I have a question…When you sew the liner, (fabric B) are you suppose to box the corners like Fabric A? If you don't box the corners wouldn't you end up with extra fabric inside the bag once it is turned right side out?
Also, what happens to the 3 inch opening once the bag is turned right side out? Is it sewn close or what? Thanks for your help.
I forgot to ask…Is there any reason why the ribbon wasn't sewn inside the seam? Was it because the 1/4" seam was not large enough to hold the ribbon?
Institches,
These are great questions!
1. Yes, box the corners of both the inner liner and the outer fabric so you don't have a bunch of extra fabric inside the bag.
2. Sew the 4 inch opening you used to flip the project inside out closed. (I actually haven't sewn it closed and it hasn't been a problem on my bag, but it would be best to close it.)
3. I didn't sew the ribbon inside the seam for two reasons: one, I wanted the flap on the top of the bag to be closer to the top of the rail of the crib and two, I wanted to be able to secure the ribbon well since my little guy tends to pull at it. I think it fits around the bed rails better (see the second to last picture of the bag on my post. )
Happy sewing! Glad you like to project!! 🙂
Hi!
Great idea!
Thanks for this tutorial!
I translated it in french….and if you allow me, I would put it in my blog,( http://tcilou.over-blog.com/ ) with your photos first, later with mine (when I attempt this project) but always linking to your blog….
I didn't find the translation of Perrine…
I hope my translation is faithful, because my english is not really good!
Tcilou,
I would be honored if you would like to translate my post and link back. Thank you for asking first. I'm glad you like the project and can't wait to see your hanging toy bag!
-Sarah
Thank you for allowing me to publish a translation.
Hope it will be usefull for those who dosn't speak english.
You can see it at this adress:
http://tcilou.over-blog.com/article-sac-a-suspendre-51296531.html
I finally found Perrine's translation there:
http://www.petitcitron.com/index.php/Pour-la-chambre/Sac-de-rangement-pour-lit-de-bebe.html
(may be it's better than mine!)
Cute idea- Thanks for the tutorial, new to follow your blog. Come visit me over at myfashionfun.blogspot.com
Thanks!!
Adorei seu Blog, já estou te seguindo, obrigada por compartilhar… Sou brasileira e adicionei seu Blog, visita o meus! Está em português, mas tem tradutor!
Beijos
So my husband thought he came up with this idea…and I told him we could make millions! We so want one of these! I don't sew however, but I am hoping to get a sewing machine for my birthday later in the year. Would you be willing to make one for me and sell it to me?? 🙂 Thanks for the post!
Mama K,
I'm flattered that you like my hanging bag that much! And as much as I would love to make one for you, I have so limited free time right now that I'm afraid it would take me all year to make them at the rate I'm going on my other sewing projects! ha!
Wish all of the network of friends have a new start .
Scarves Scarves
hope you have a great 2011. Thanks for the link, sweetie!
Titanium Necklaces
Lovely bag! I can't quite read the measurements for the pieces, though. Would you mind writing them out?
Plastic Bags
Hi, great tutorial!
Hugs from Italy, Emanuela
Hi – found you through a pin on Pintrest. Was viewing another persons Pintrest page who repined one of my hanging basket patterns.
http://felt.co.nz/listing/128400
or
https://www.etsy.com/listing/101021582/hanging-bike-basket-bag-tutorial