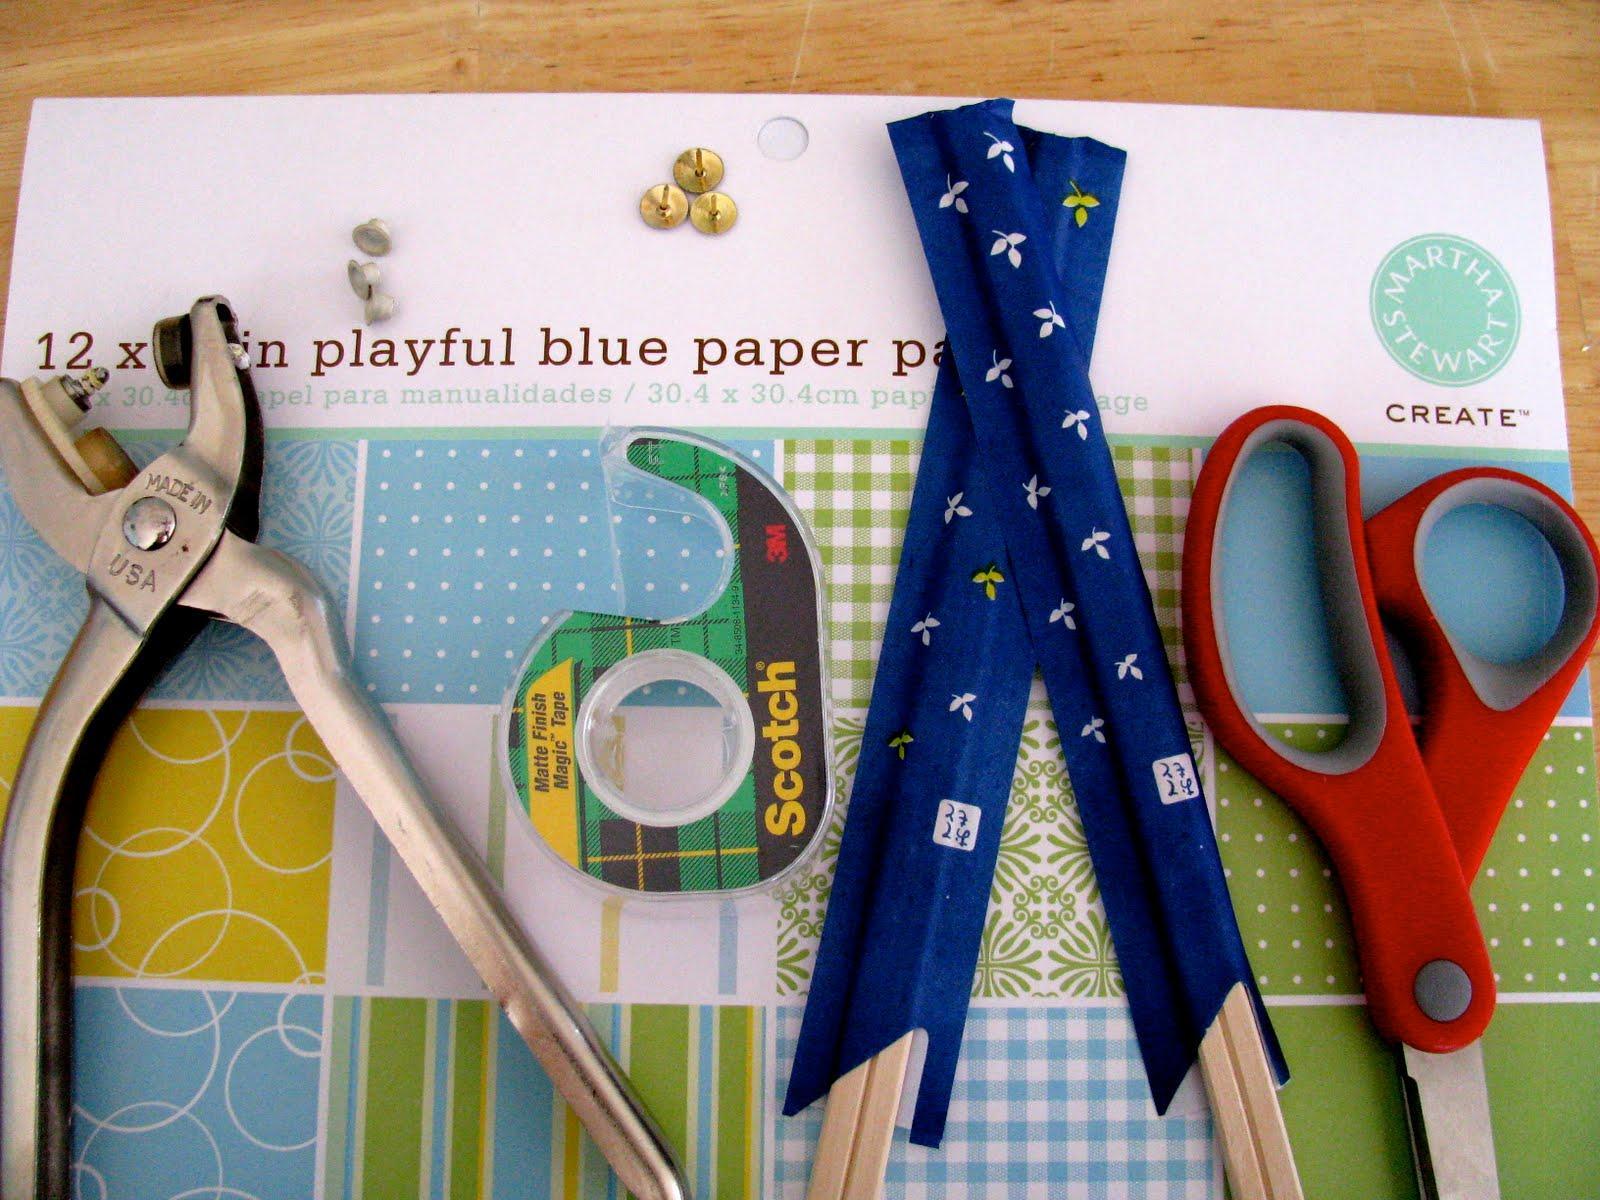
- Grommet tool with grommets (if you want the pinwheel to be functional)
- Tape
- Thumb tacks
- Chop Sticks
- Scissors
- Double-Sided Card Stock Paper
Cut a 5 inch square piece of paper.
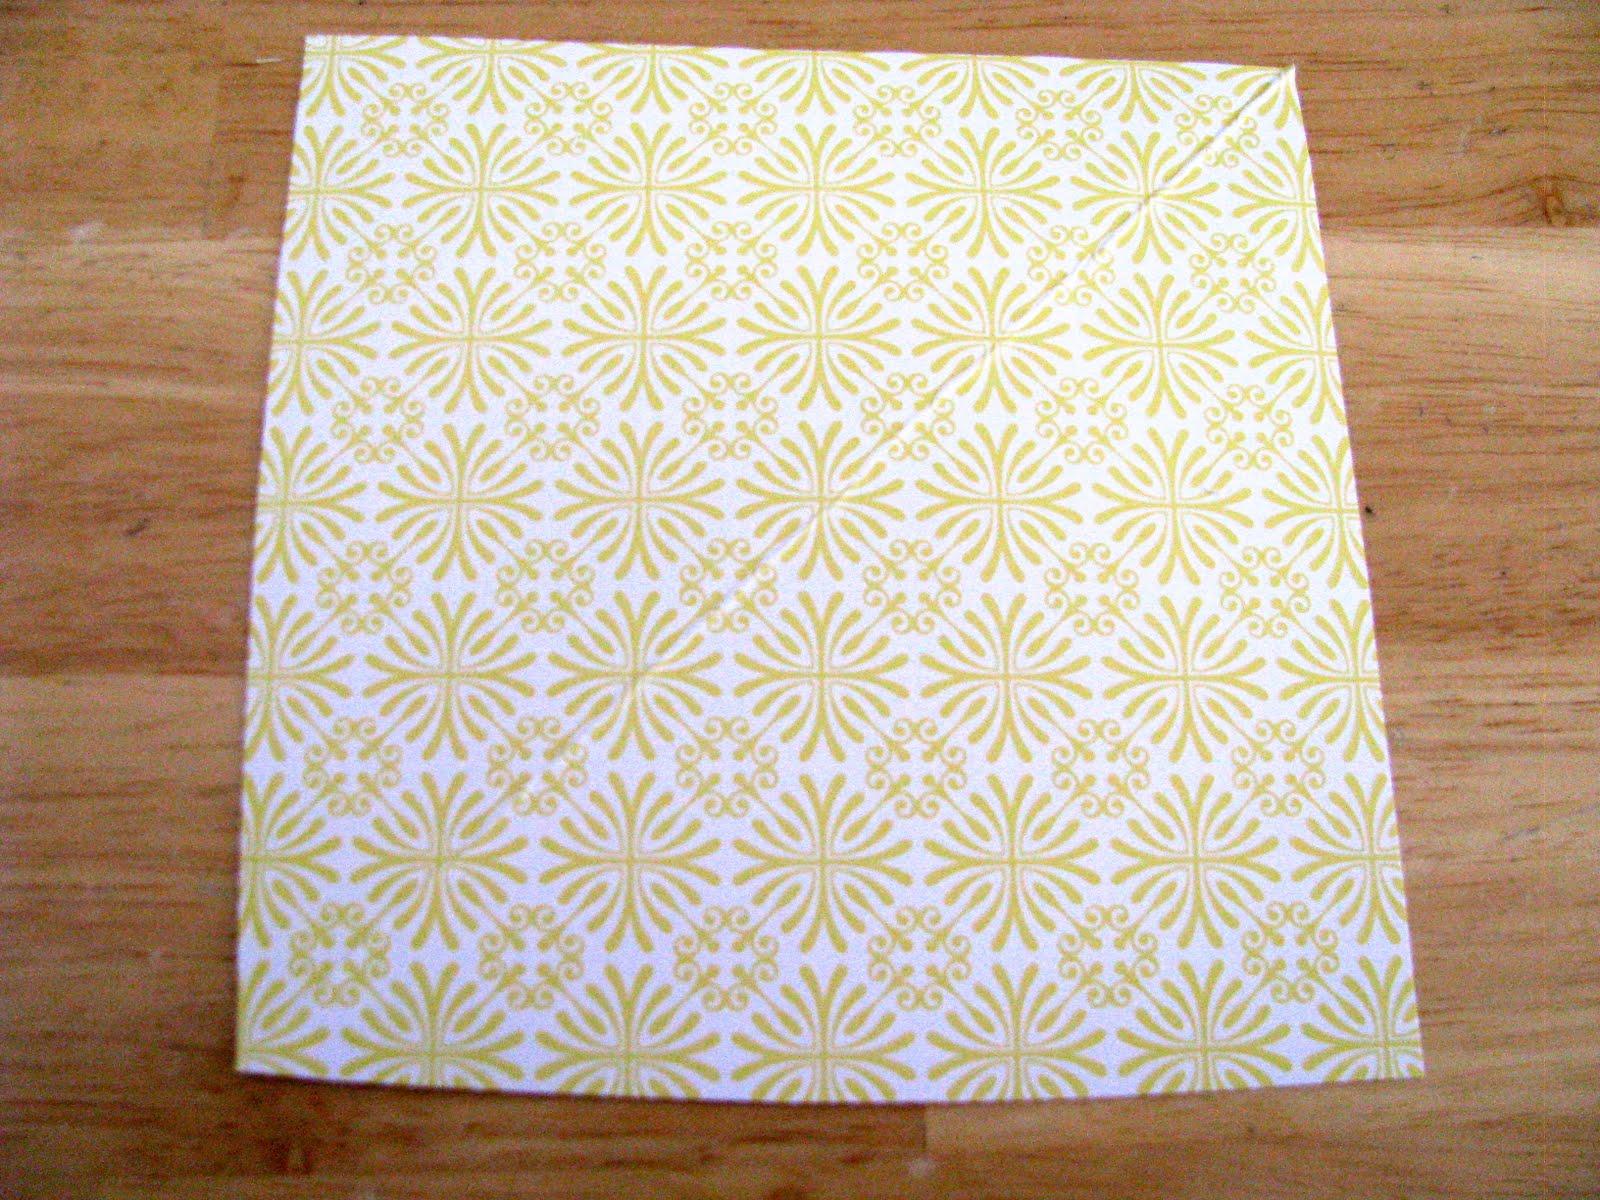
Fold it into a triangle, unfold it and fold it into a triangle the other direction so that you have an “x” in fold lines through the center of your square.
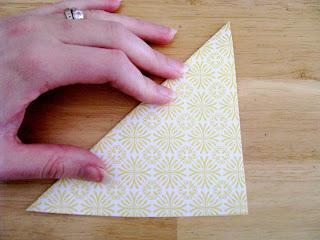
Start from one corner of your square and cut along the fold line towards the center of your square stopping about 1/4 inch from the center. Repeat this process for all four corners.
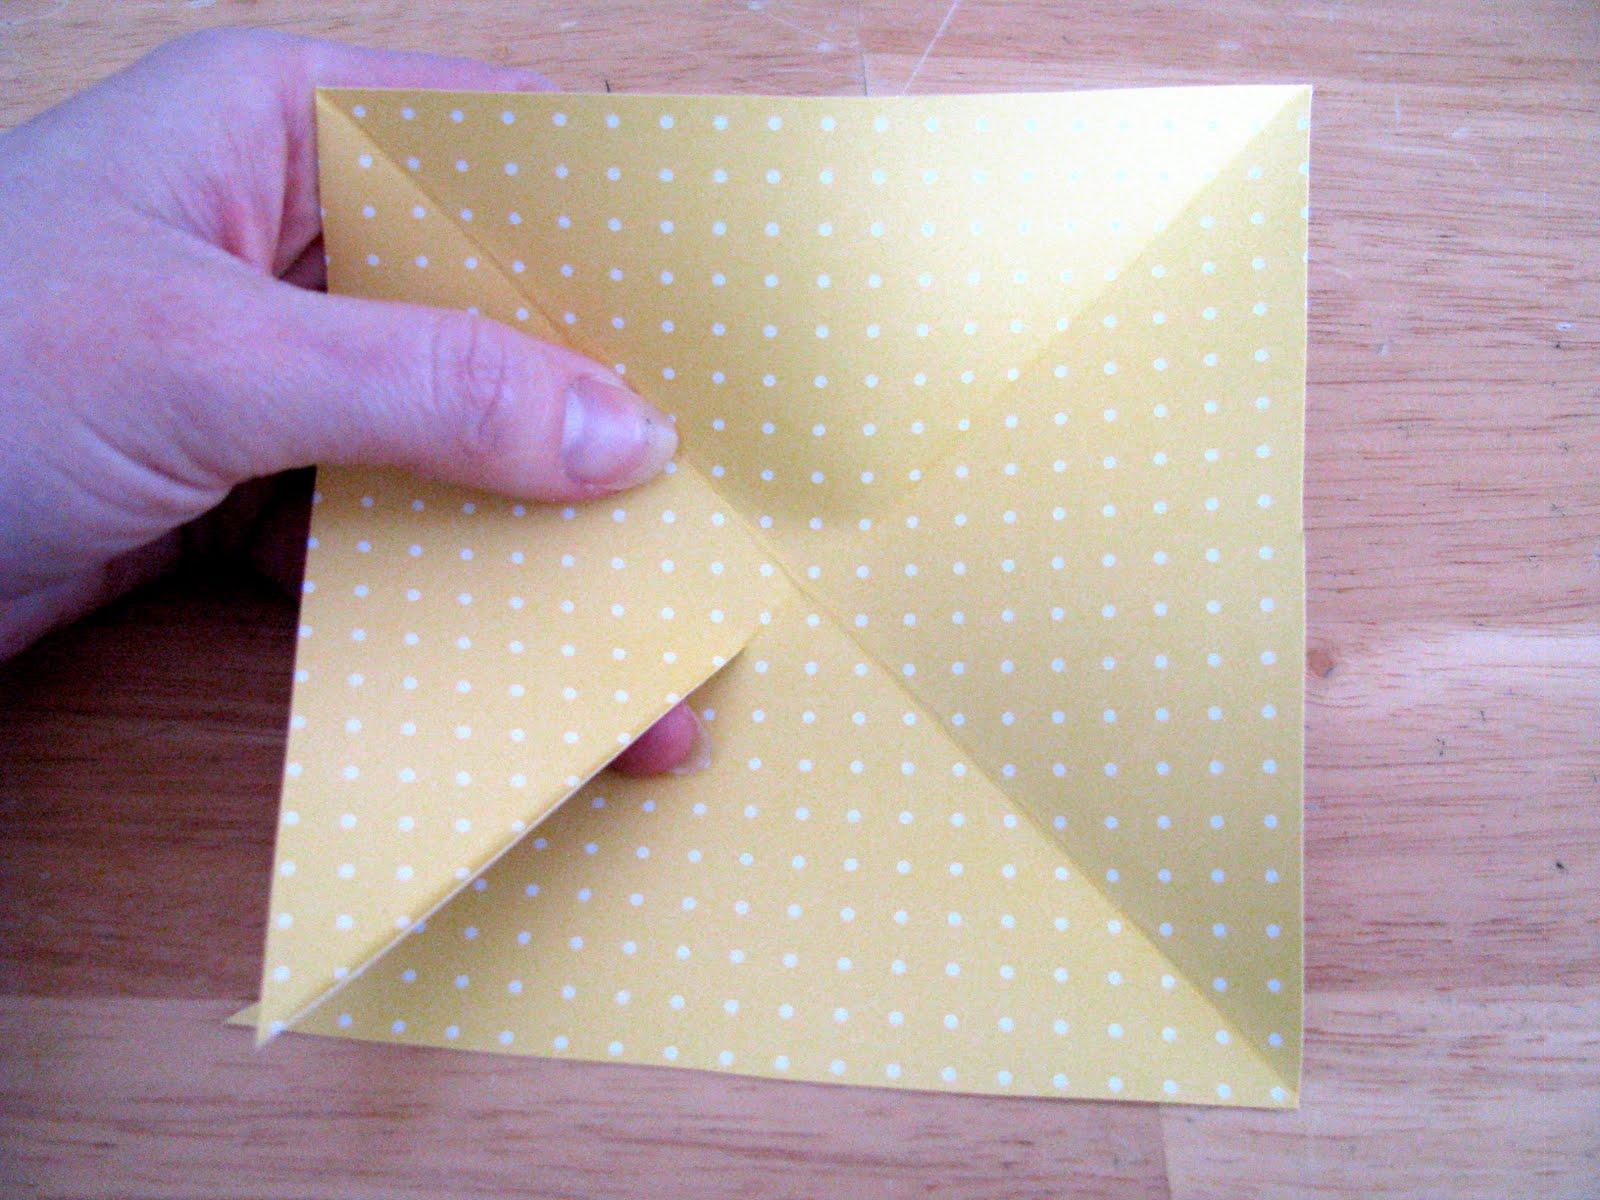
Starting at the top left corner, work clockwise around the square folding in each corner (don’t crease the folds). I recommend taping down the corners in the center to keep them from slipping. You can always cut the tape later.
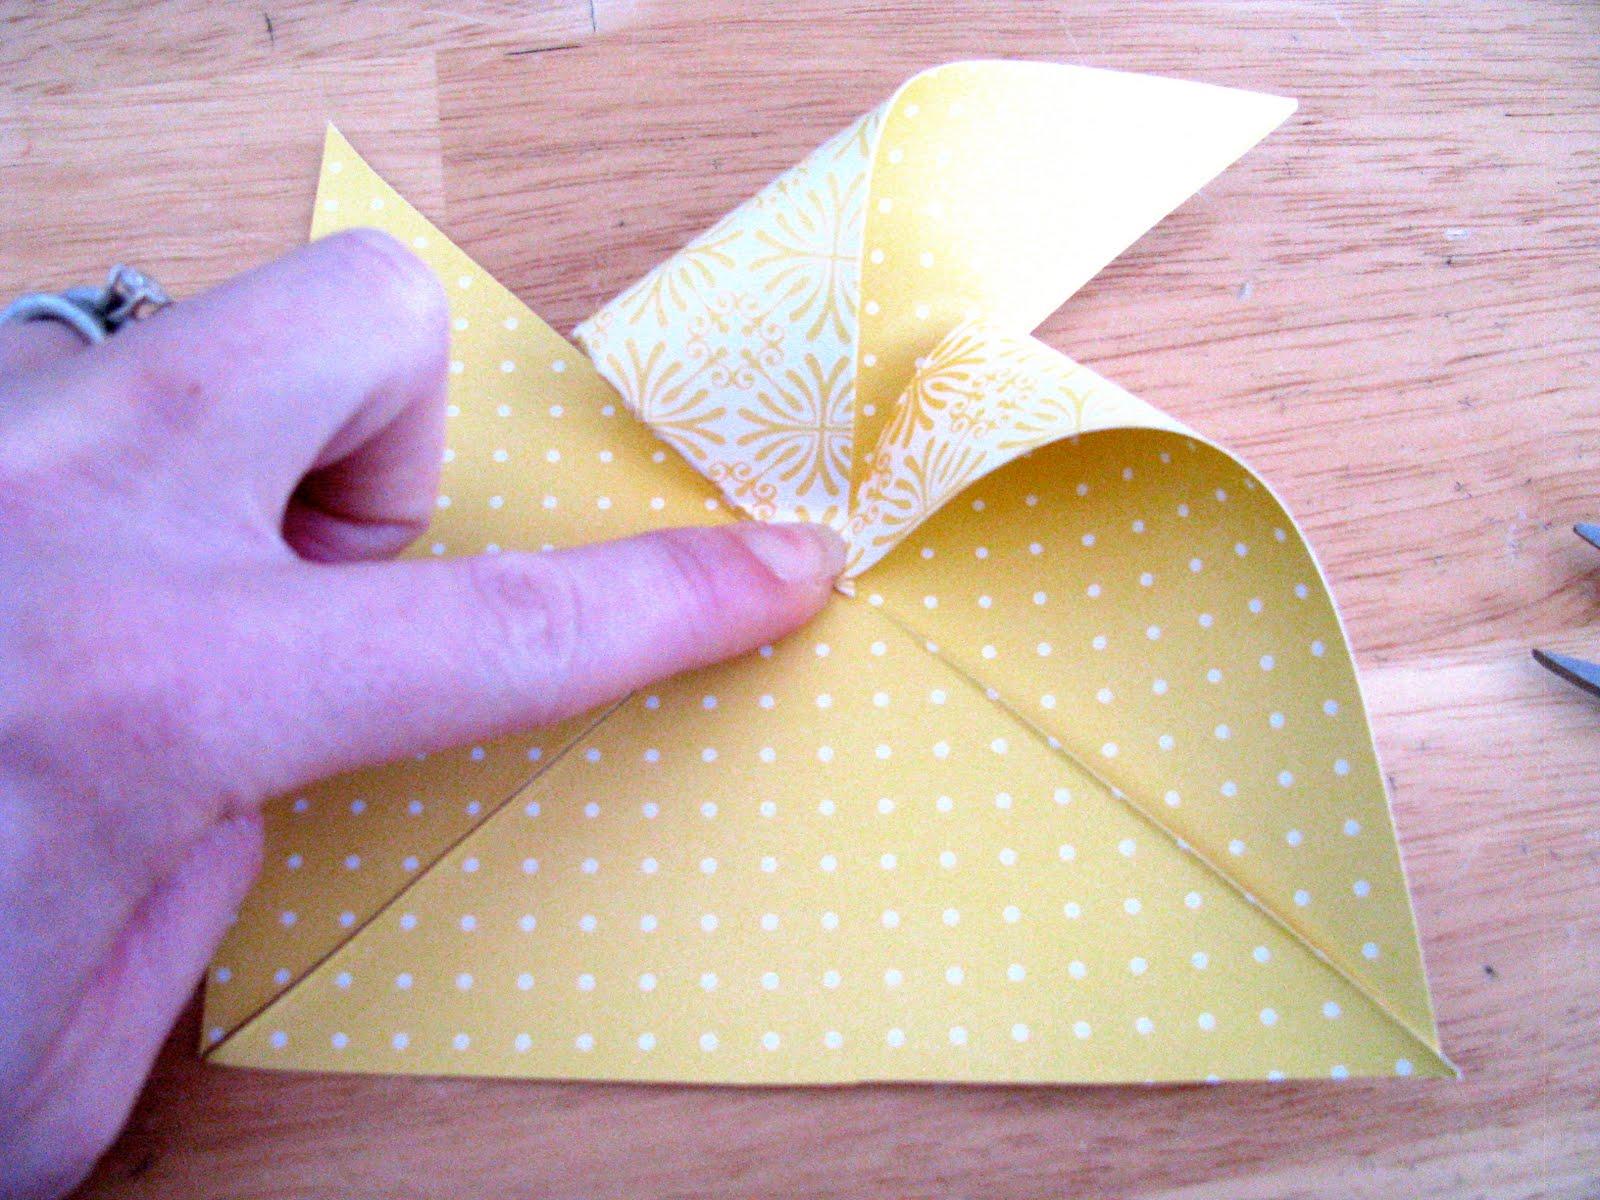
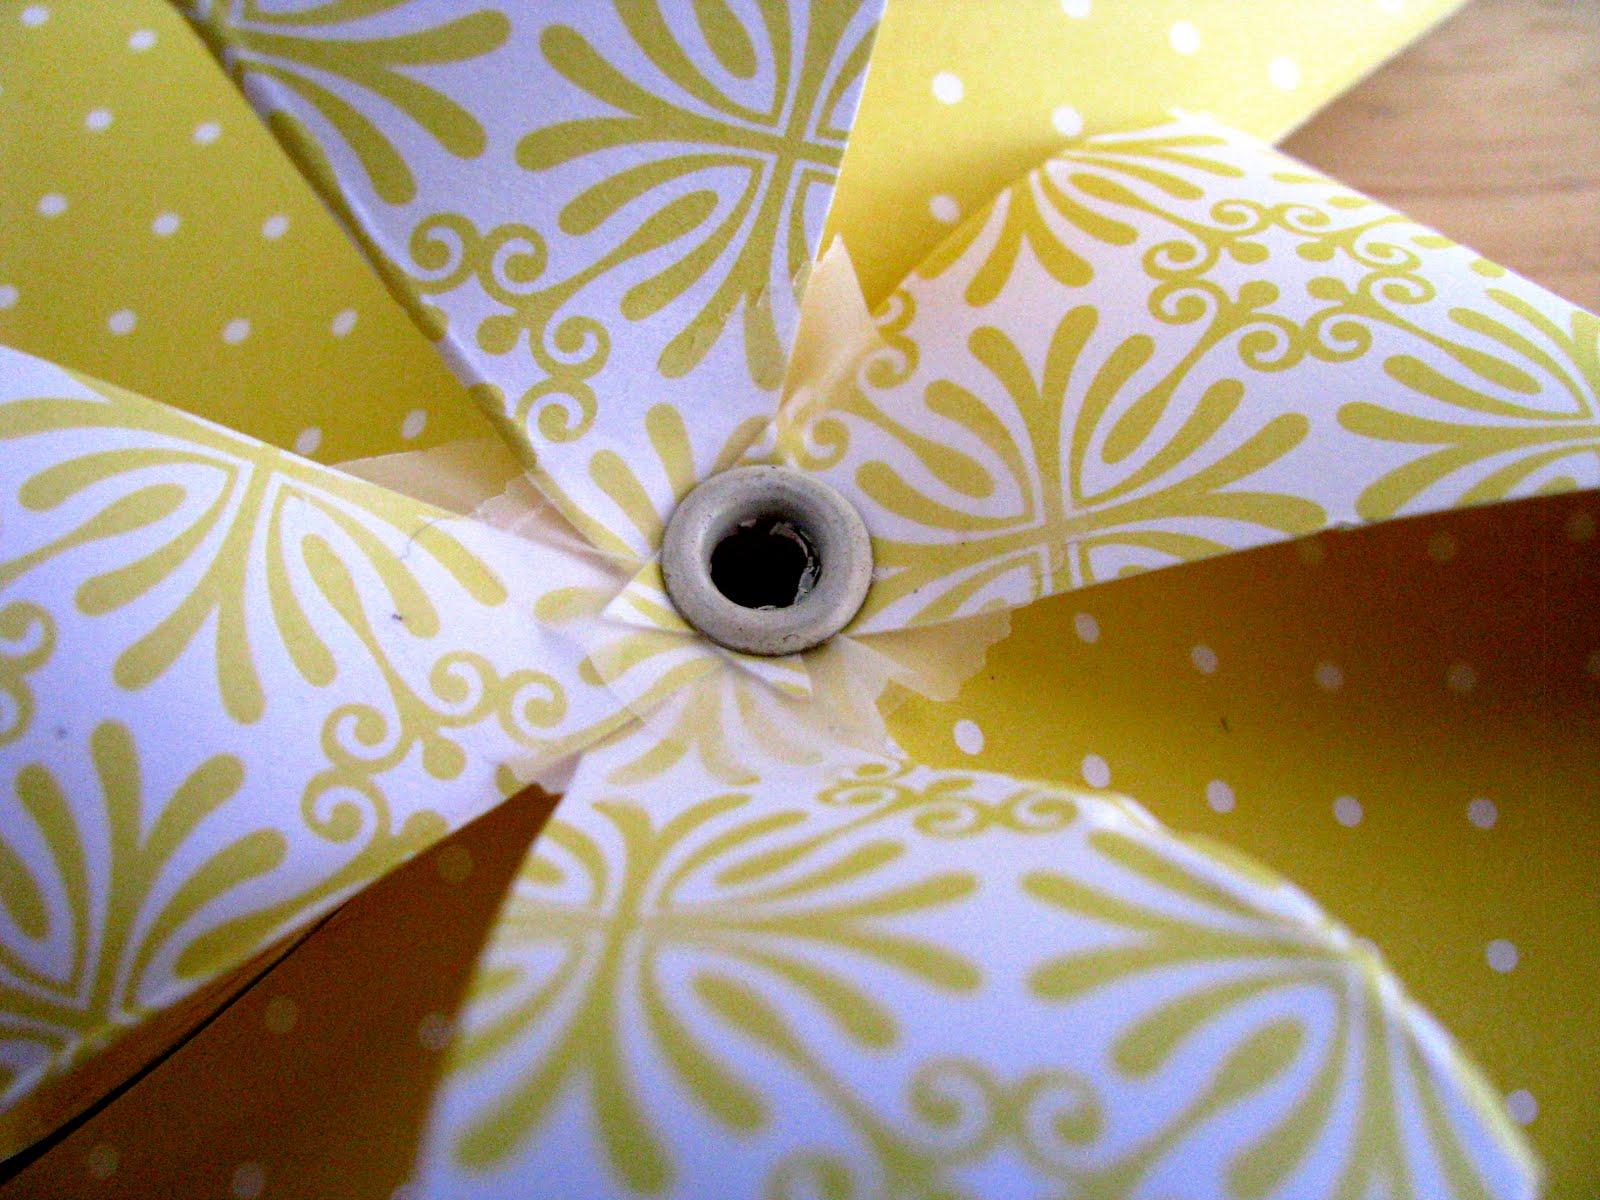
Optional Step: If you have a grommet tool and you’d like your pinwheel to be functional, put a grommet in the center of your pinwheel over top of your tape and catching each of the corners under the grommet.

It will look like this before you cut the tape.
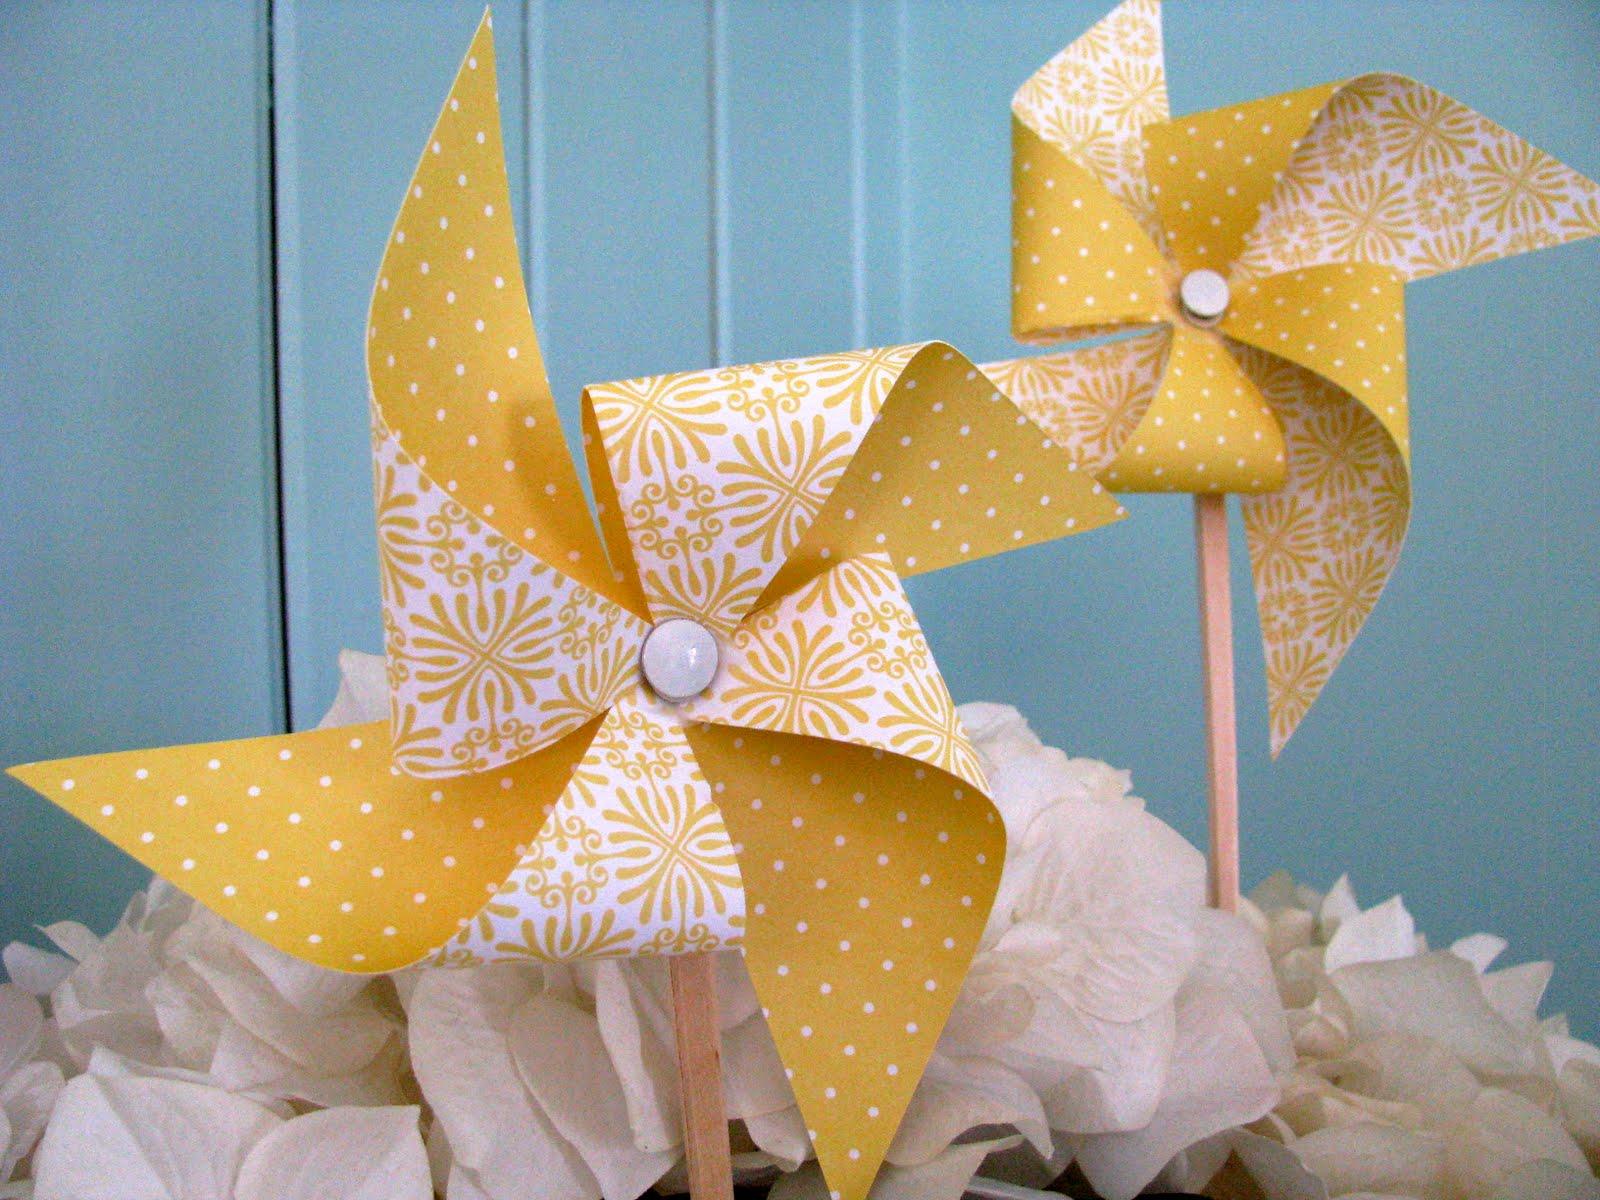
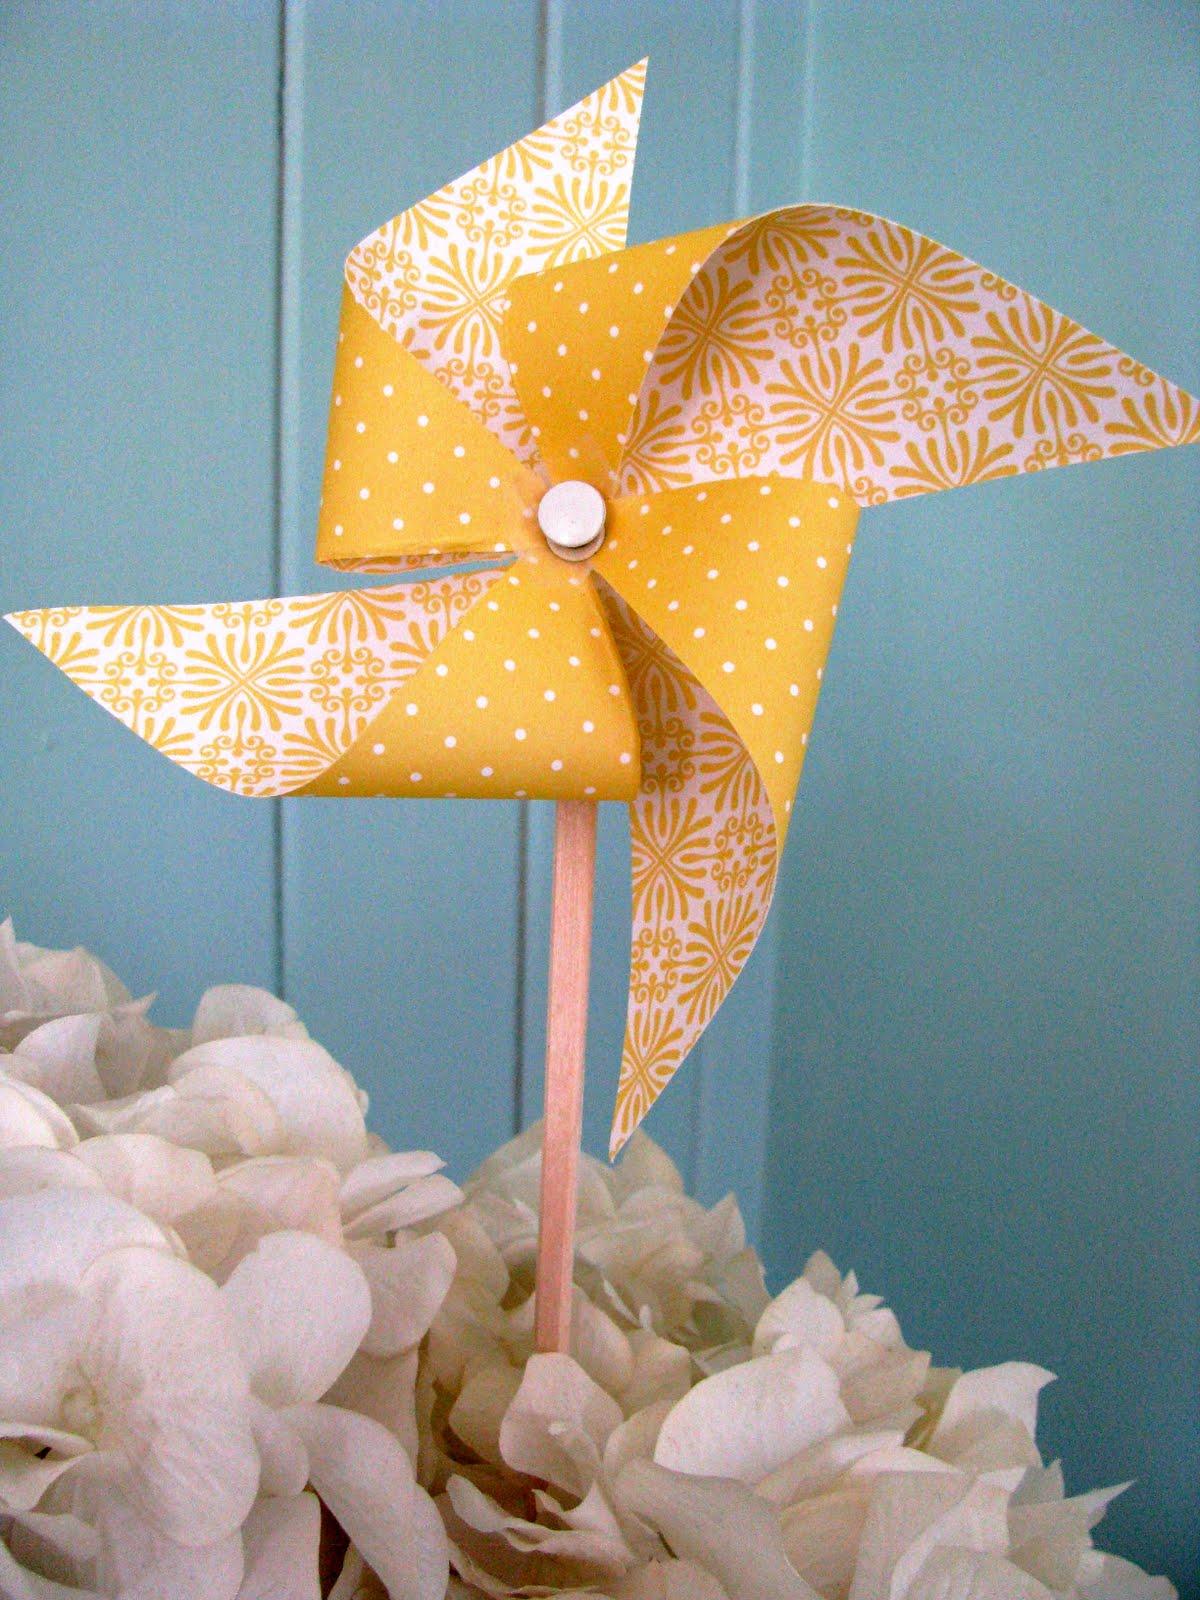
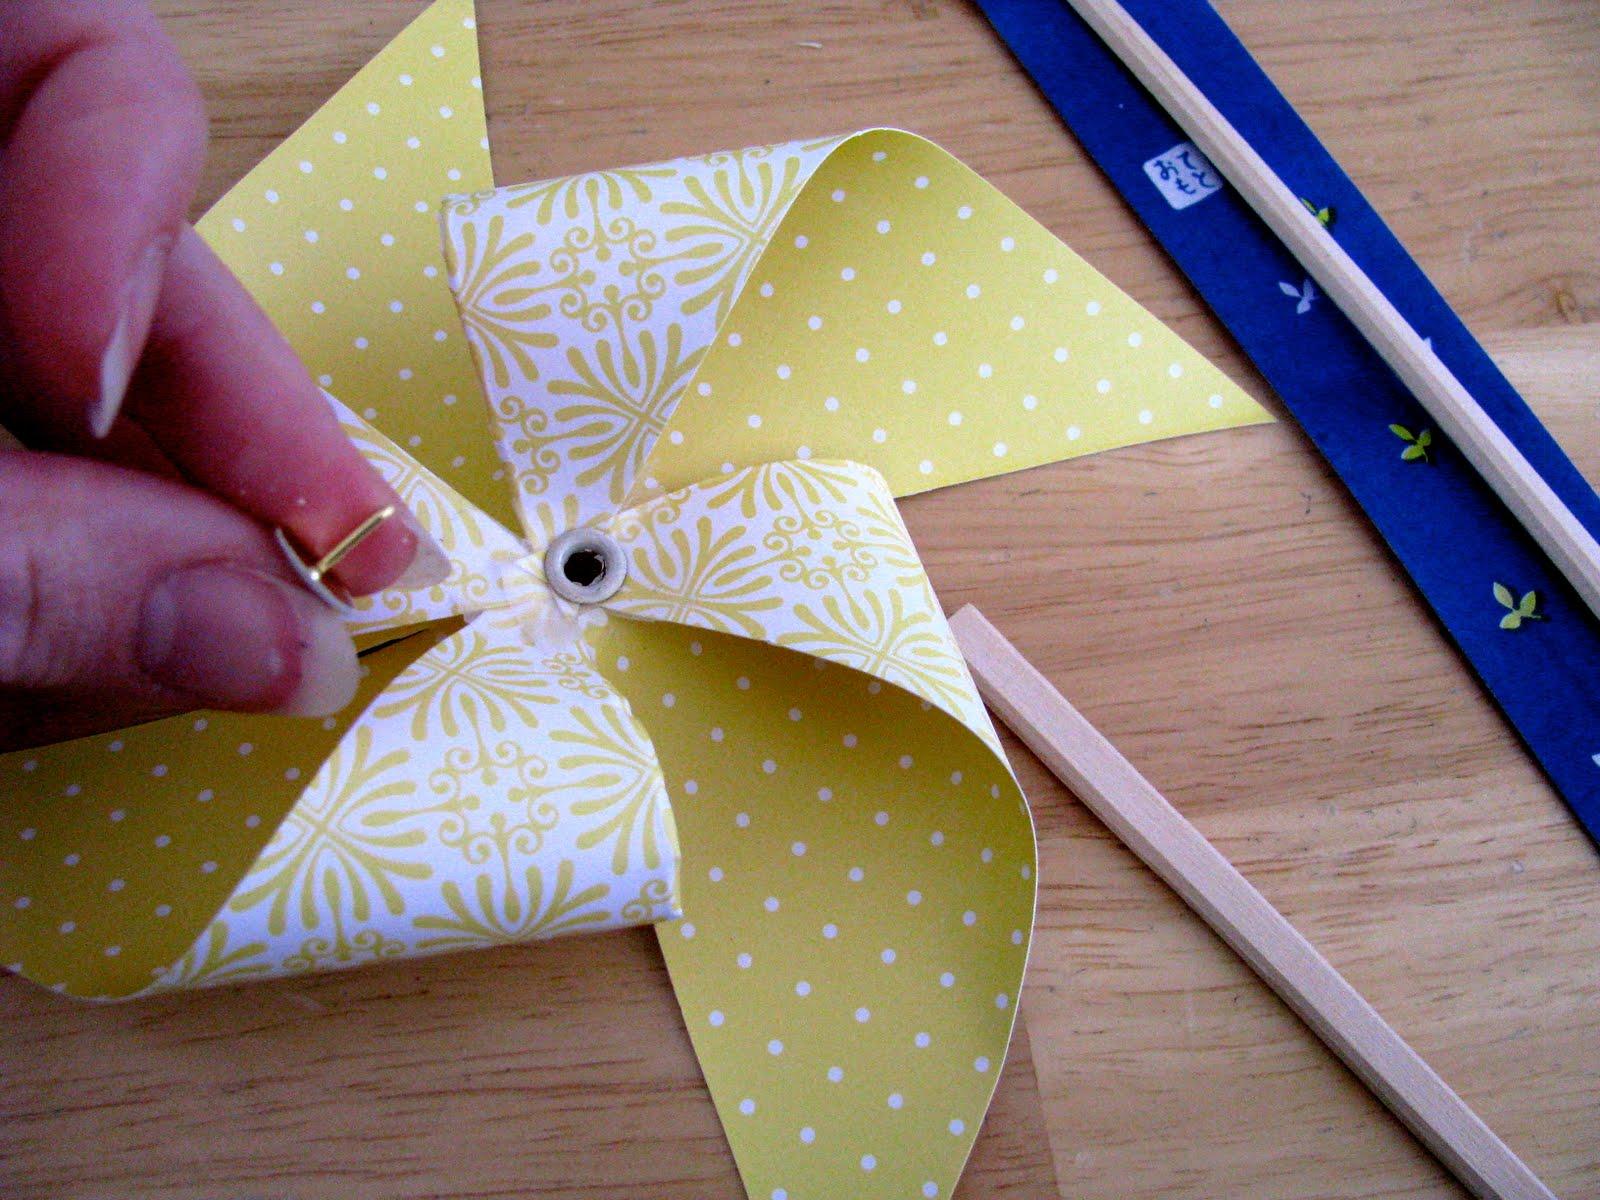
If you choose to not make your pinwheel functional, then you can just put the thumbtack through the center of your pinwheel and into the top of the chopstick. To make it functional, put the thumbtack through your grommet and into the top of the chopstick, and you’re all done! Happy Spring!
*I have curated some of my favorite resources for you in this post. Affiliate links are used, so if you click through and make a purchase, I will receive a small portion of the sale at no extra cost to you.

Those are darling! I think I may enlist the kids in making a bunch today.
how pretty and festive!
These are super cute! I am putting these on the short list to make at art time with my little one. (Must have hubby bring home some thumbtacks first!)
oooh thanks for sharing! My daughter is obsessed with pinwheels…that will be a fun thing for her to make:)….and much cuter than the dollar store ones she begs for!!!
Sarah I absolutely LOVE it! I've been missing you over at SYTYC!!!
Sarah-
You are too kind! Thanks so much for the encouragement. This week has driven my completly bonkers with the competition. Too much DRAMA for me. Today is the second day I have checked in with the votes, because by the end of the first day I was…yeah…not wanting to even bother…lol…I've been loving it… but it will be great once it's done…a relief…back to normal crafting!!!
ooo~!!! i need to make this! i was at a toy store with my kids, and my 2 yr dd was so fascinated by this. glad to find the tutorial! thank you!!!
I featured your pinwheels in my "You are My Sunshine" baby shower post today. Thanks for such a wonderful idea! Take a peek…
http://www.chicgiftsbysass.blogspot.com
Cassie
http://www.chicgiftsbysass.etsy.com
Where did you get the paper for these? So cute! I would love to know so I could make them for my wedding.
Amanda, The paper I chose was double-sided cardstock from the Martha Stewart line at Michaels. What a great idea to make these for your wedding… super cute!
-Sarah
hi sarah,
i stumbled upon your blog while looking for craft projects to do in the weekend. Your pinwheel is a real cutey and easy to make, looks like i'm going to be busy next weekend.Thanks for sharing.
What a wonderfully written tutorial! I've featured it on my 30-minute-crafts blog!
I was looking for purple and ivory pinwheels to have at my wedding reception for the children. What a neat idea to make them myself. Thank you for the ideas!
I love this and was thinking of making them for a toddler birthday party but I am nervous about using thumbtacks… any ideas for alternatives?
These instructions are great. I am making these for my niece's birthday party – center pieces.
I am using brads though for the middle & these paper straws. But you explained how to fold it really well!